Been thinking about brakes on and off for as long as the caravan has been going. A lot of the European caravans use inertia brakes. I wasn't keen on that option, preferring to have direct control on the braking. Some of the caravans had no brakes. Madness! I can't think of a time when you'd think "Gee, I glad I don't have brakes!"
So, I need to activate two brakes on the caravan from the bike. And it needs to be able to disconnect. I've flip flopped between mechanical and hydraulic, one lever or two. Even considered electrical. Stressed over if one or two cables from the bike all the way to the caravan wheels would be able to activate brakes. Would there be too much play in the system? Do I need a booster system. Do I need pulleys in places to smooth the action?
I decided to use hydraulics at the calipers. Mainly to avoid having to adjust them. So then it turned into how activate them. One lever to activate both? They do make such a beast, but besides the eye watering price tag, I didn't find any quick connectors for bicycle hydraulics. So have to use two levers. I did consider making new levers, but using the existing levers would be simpler for the future.
The previous post with the caravan hitched to the bike was to see how much clearance there was for the brake lever mounting. Heaps of space. phew!!
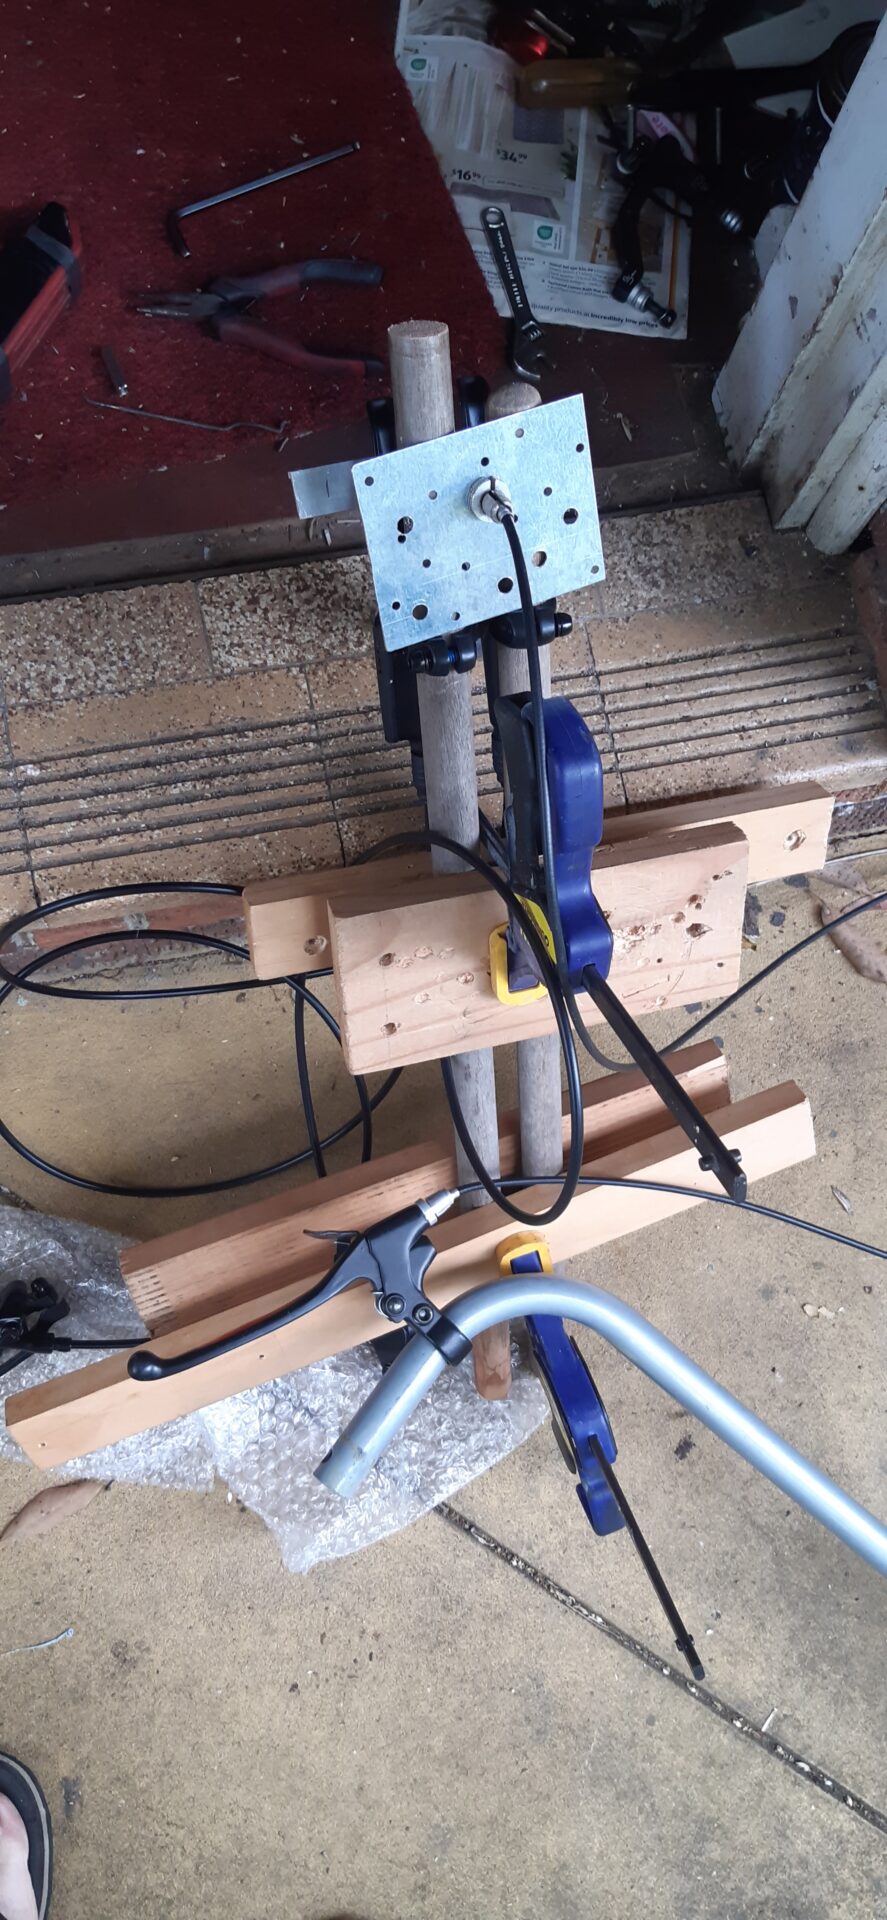
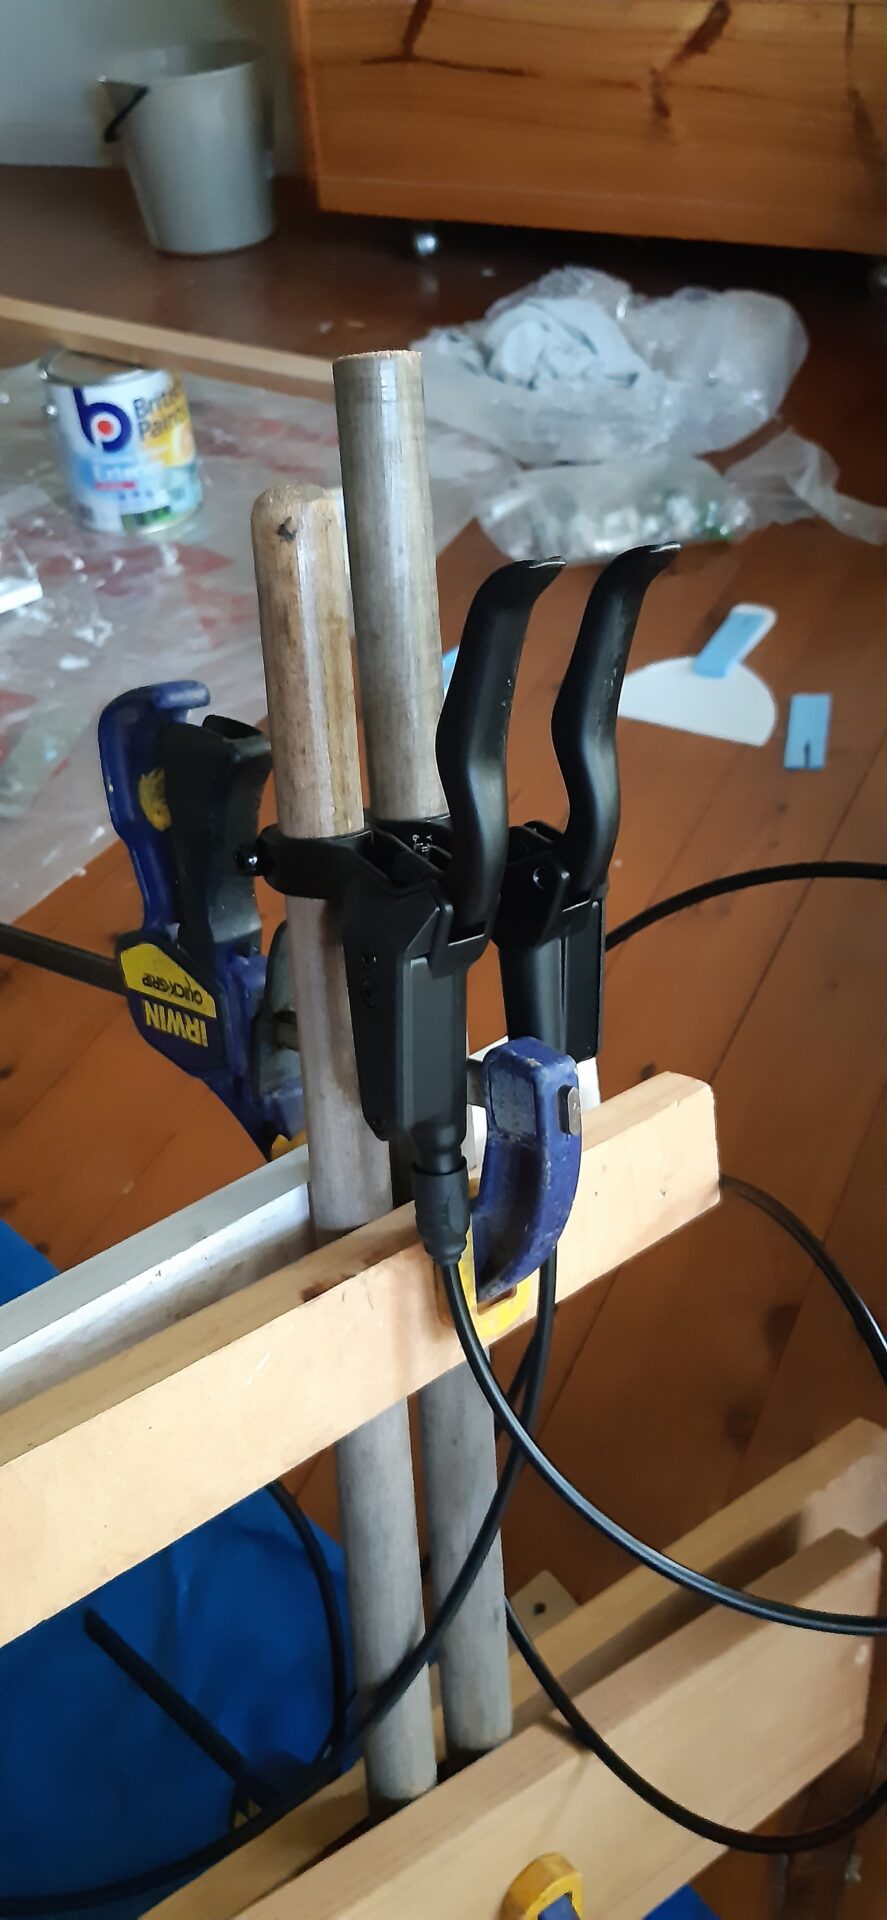
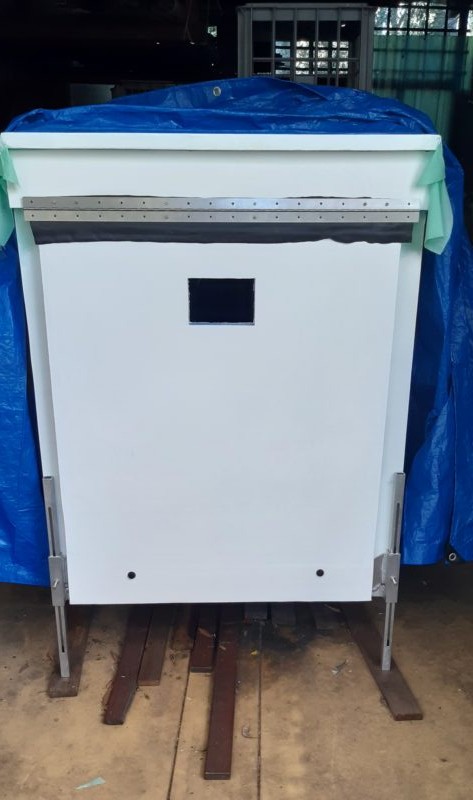
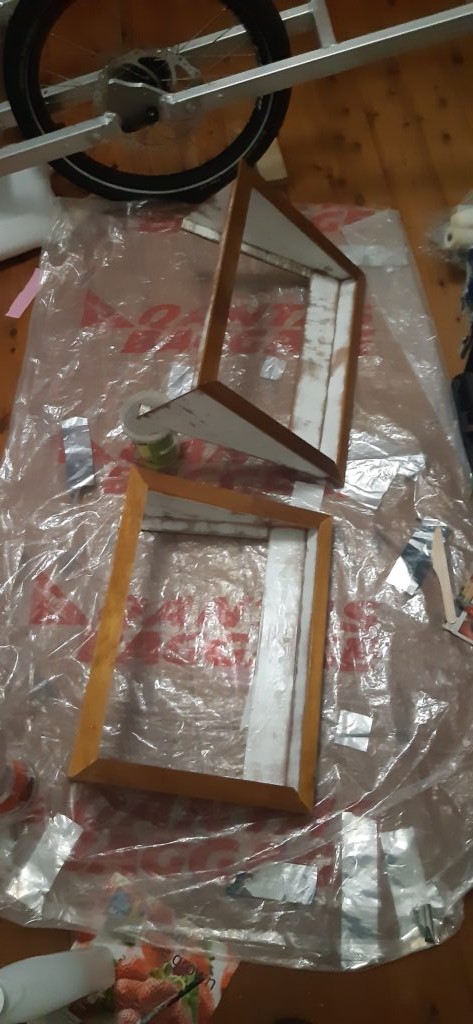
Deadlines focus the mind. Tackled the brakes. Cobbled together this test setup. Dowel, wood clamps and scraps.
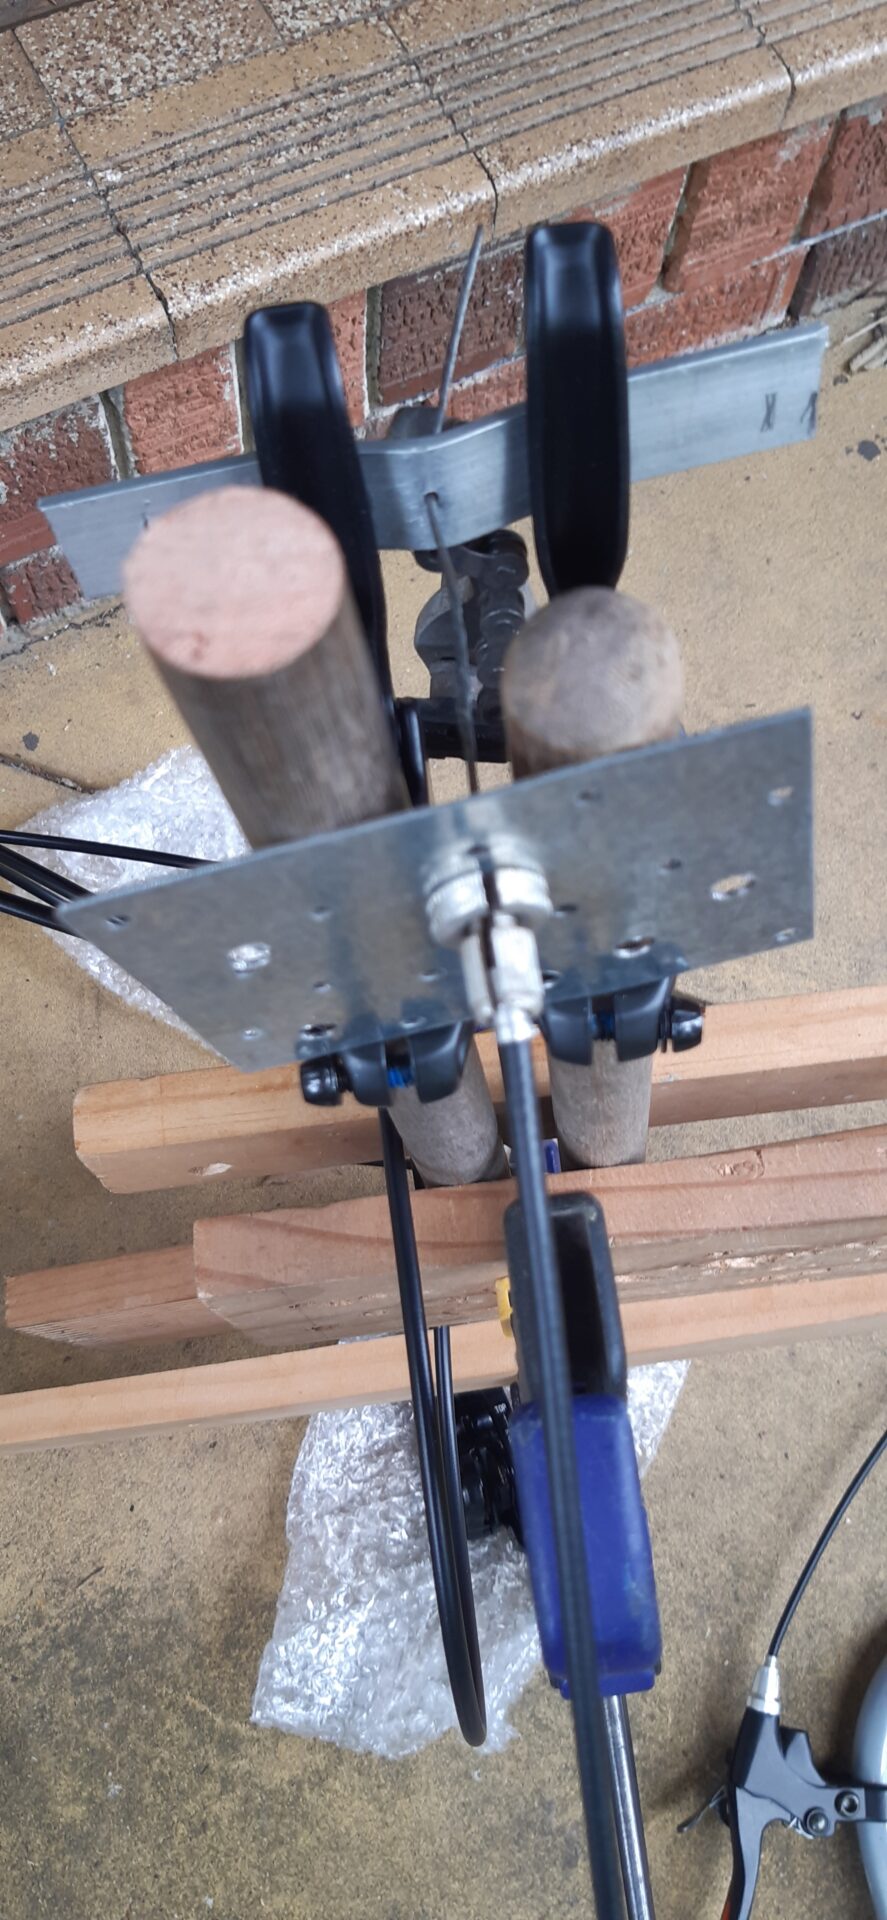
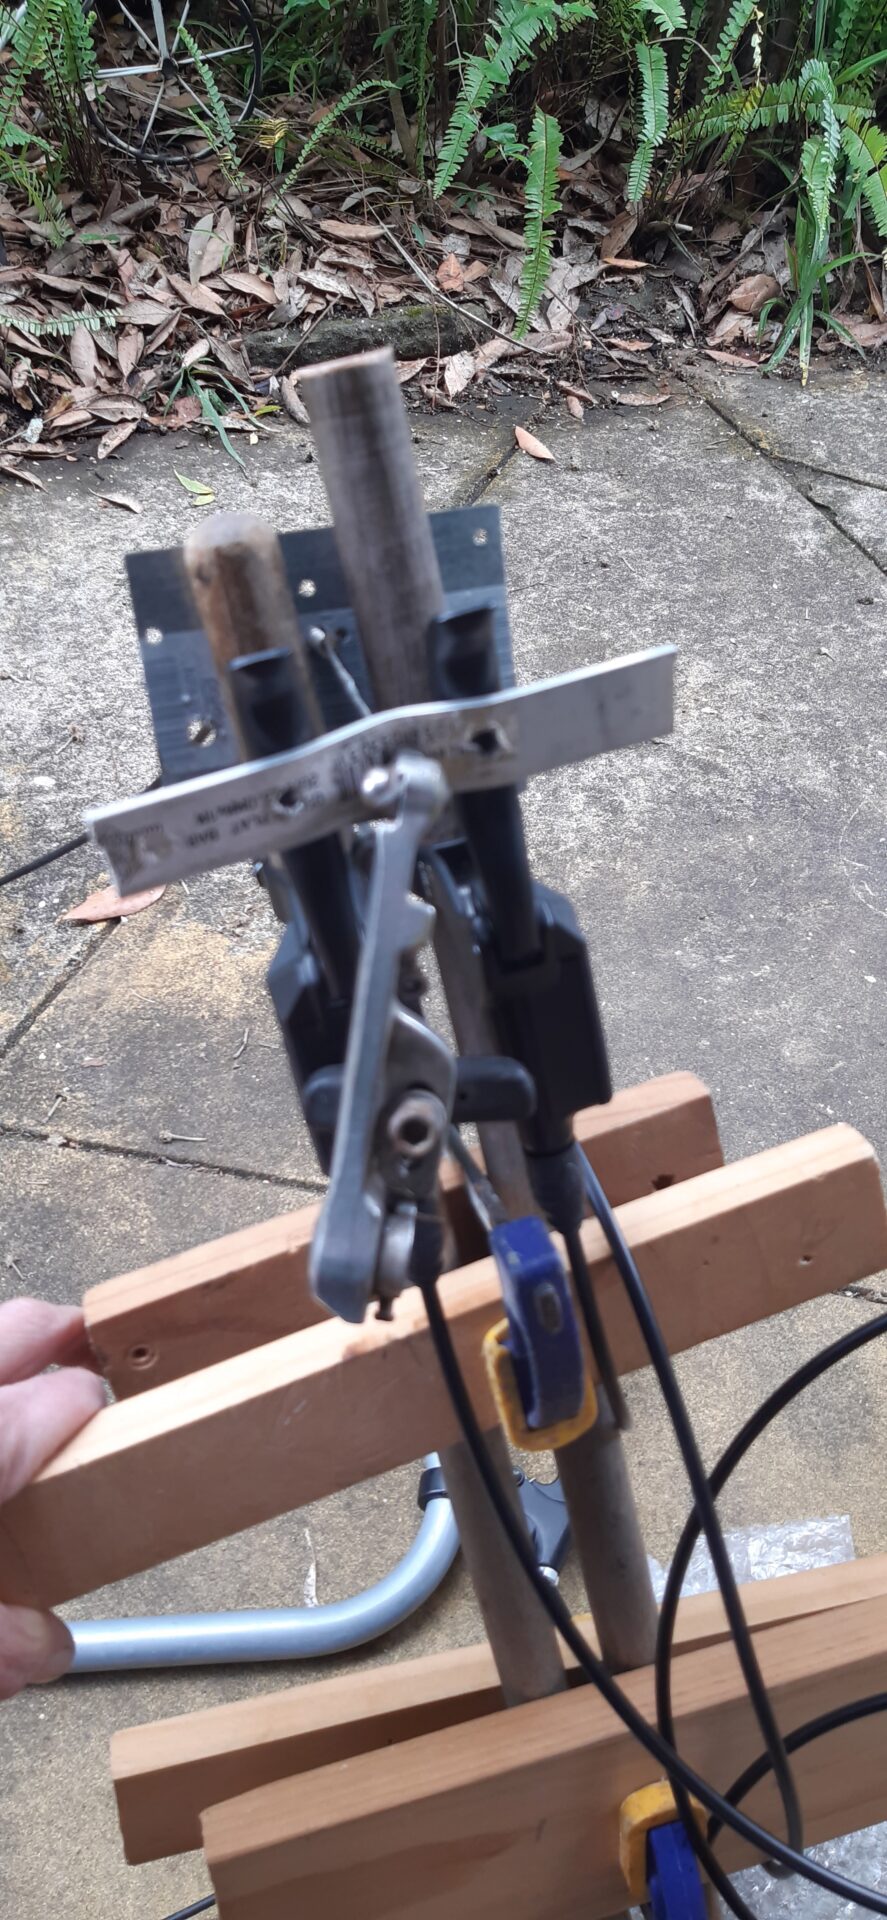
A lucky piece of aluminium with just the right bend in it for the back. I don't think my test would have worked so well if it was flat. I used an old V-brake to pinch the cable so it wouldn't pull through.
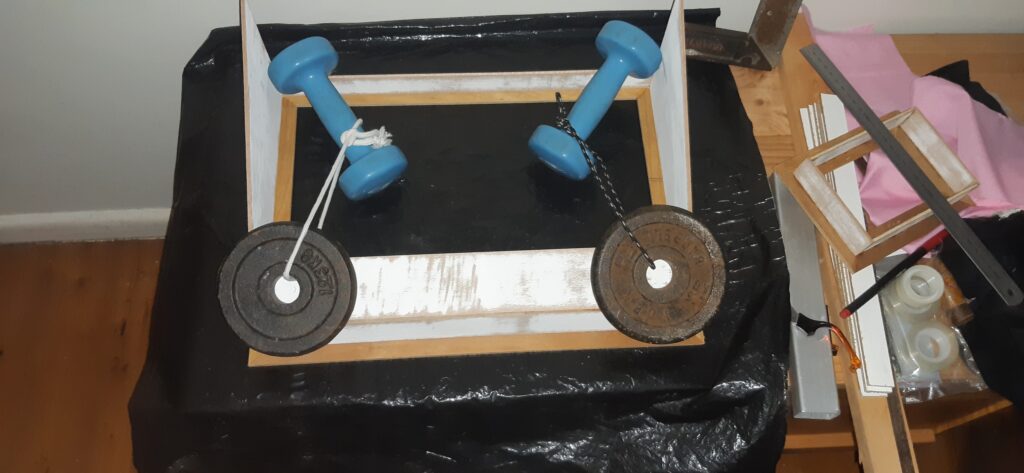
It worked! Very happy with the it. A few refinements will be needed for the final design. Needs more clamping. The cable could jump off too easy otherwise. The final will be out of aluminium rather than wood.
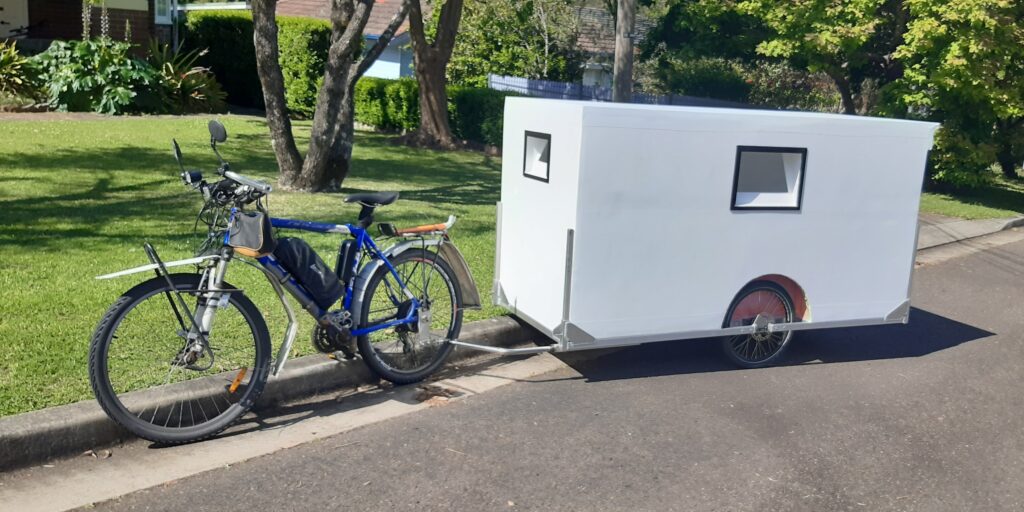
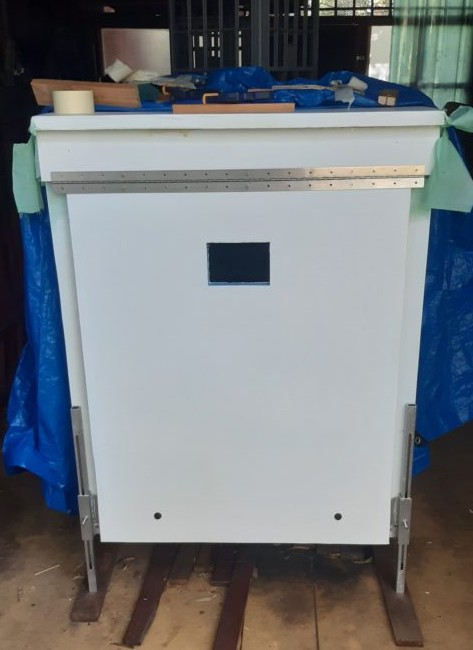
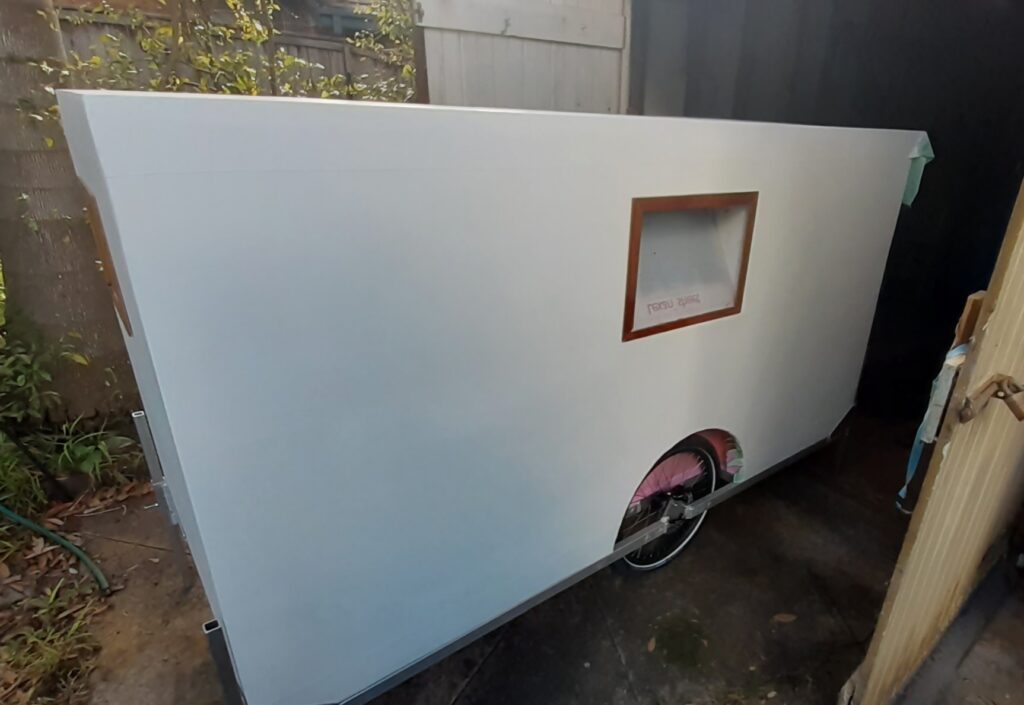
First time hitched the bike. A new hitch, and of course, you can't miss the cabin. Hadn't realised I didn't paint the wheel wells until now. Will paint them black. The mass of white will be broken up with pinstripes.
A short pedal about the street. Rolls easy on the flat. No motor needed for the short, small incline I tested it on.
The door took much more work than I had thought. A common occurrence during this build. Everything seems so simple and easy, until I start doing it. Then I find all the things I hadn't thought of. Learn that my plan isn't working out. And blow past my expected finish date.
It seemed like a good idea to position the piano hinge on the door and lintel while they were both flat on the floor. Drill the holes in the holes in both. Then they would line up straight. Did that, then glued the lintel to the caravan body. And then I bolted the door on and groaned.
Look closely at the bottom of the door. The gap on the left compared to the right. Not even close.
I experimented with moving the holes on the lintel, but wasn't happy with how that was working out. Too many holes for the piano hinge would be too close to the edge. The basic problem was that the roof is not 100% level. There is a 5mm difference one side to the other. Unnoticeable looking at the roof, but hanging a metre long door off it and the slight slope is amplified. Gluing the lintel to the roof really wasn't a good idea. I did consider just ignoring it, but I would look at the gap every time I opened the door. And I'm sure I'd quickly grow tired of people telling me it was crooked.
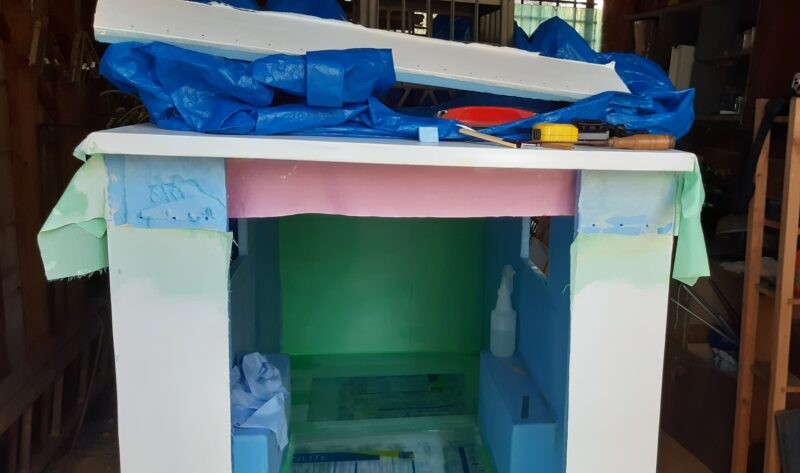
Decided to remove the lintel. Wasn't easy. A lot of cutting glue and foam with a knife.
I had thought to glue a thin triangle wedge on top of the lintel to space up one side down. But as I was setting up to cut the wedge, I realised that I could also cut off a wedge from the lintel.
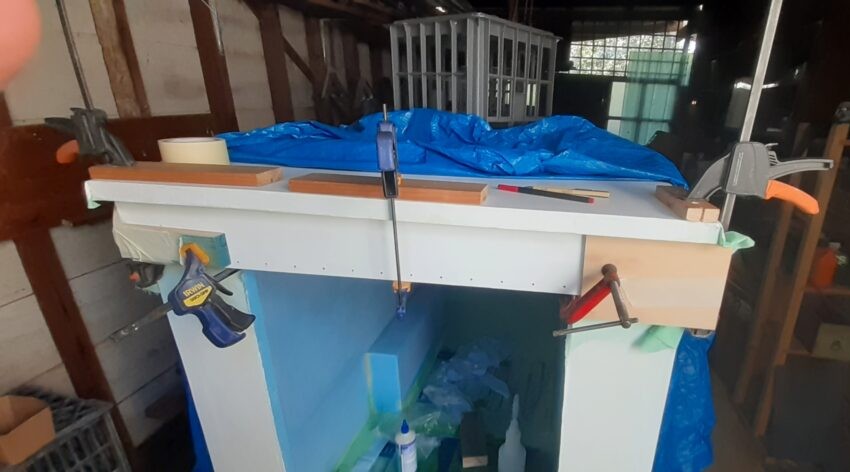
A test with the door on and holding it all together with clamps to check the door would hang straight this time. Marked out where the lintel would have to go. Undid all the set up. Coated the lintel in glue and clamped it on.
Been a while since the last update. Work on the caravan has been happening though.
I thought making windows would simple. A couple of weeks. Easy. No surprise it didn't turn out that way.
My first window didn't get finished. The timber I used was too heavy. After looking at using aluminium, I settled for three ply at a bad time. At the two nearest hardware stores three ply was out of stock and on back order. I waited for orders, but no three ply. Tired of waiting I recycled cupboards and boxes.
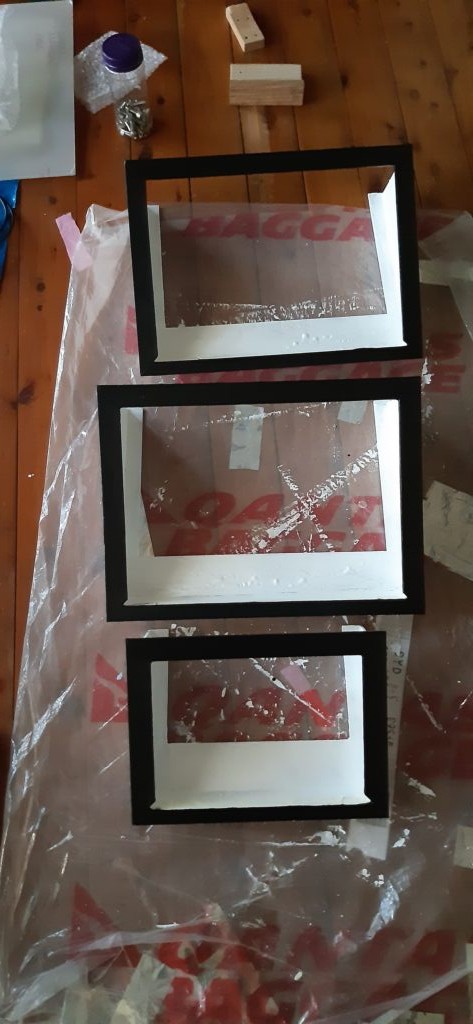
I settled on four windows all in landscape mode. The door has a A6 sized (105 x 149 mm) window, just to see out before I open the door. The front would have an A4 (210 x 297mm). And the sides would have an A3 (297 x 420 mm). I'm not certain on the A4 window. It may change to an A3 in the future. But at the time, I didn't have enough three ply to make it larger anyway. Also, I decided to just get it done. Improvements can happen in the future.
Wiley Windows are what I wanted. I liked all the options they provided. They can be full open, partially open, even when raining, fit block out screens and mossie screens.
The three ply was not marine grade, so I coated it with epoxy to waterproof it. At the time, the weather was cold. So cold that the epoxy was like peanut paste and wouldn't pour from the containers. When it warmed up a bit, it would flow, but found that the low temps, the set time was extended by a lot. Unless the surface was flat, it slumped off, or set on the way to slumping off. I was also surprised to find the wood soaked up the epoxy. It took multiple coats to get a layer of epoxy on.
The idea was that a piece of perspex A4 or A3 would fit in the window. A small error. I was 3mm off on one dimension for each window. I think it was the kerf on the saw on the wrong side of the marking line. Didn't pick it up until I went to fit the perspex. But okay in the end as can cut down the perspex to fit.
Cutting the holes in the cabin was a bit nerve wracking. I used the perspex sheets to mark with so that they would be level compared to the roof line. I marked out around the perspex and cut the laminate with a utility knife. I peeled it off, then drilled a large hole in the four corners. Used a hacksaw to cut roughly between the holes. Then I used the hot knife to smooth cut close to the marked edges.
Did you pick up my mistake in that list of steps? The windows are larger than the perspex. Back to marking out the difference onto the walls, cut the laminate off, cut the foam with the hot knife again. Now the windows fit.
It was time to attach the roof to the walls, and then start the laminating.
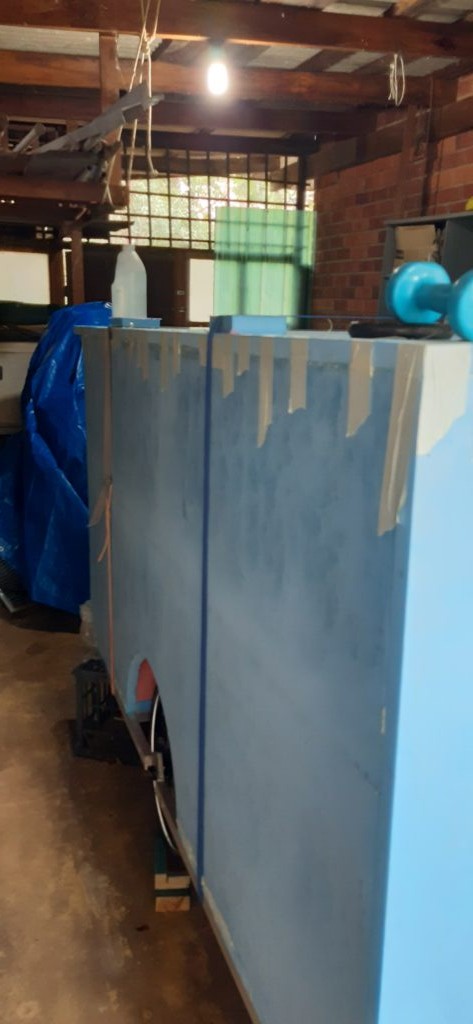
I removed the cabin from the chassis. Checked it all over and filled any gaps or holes. I used a foaming polyurethane glue. Using a plastic spatula to spread it into and over any holes, then tape over with masking tape. Without the tape, it was sometimes too bubbled to give a smooth look when sanded. As it was setting, pressed with the spatula to pop the bubbles and force into the gap/hole. After it set, removed the tape and sanded it smooth.
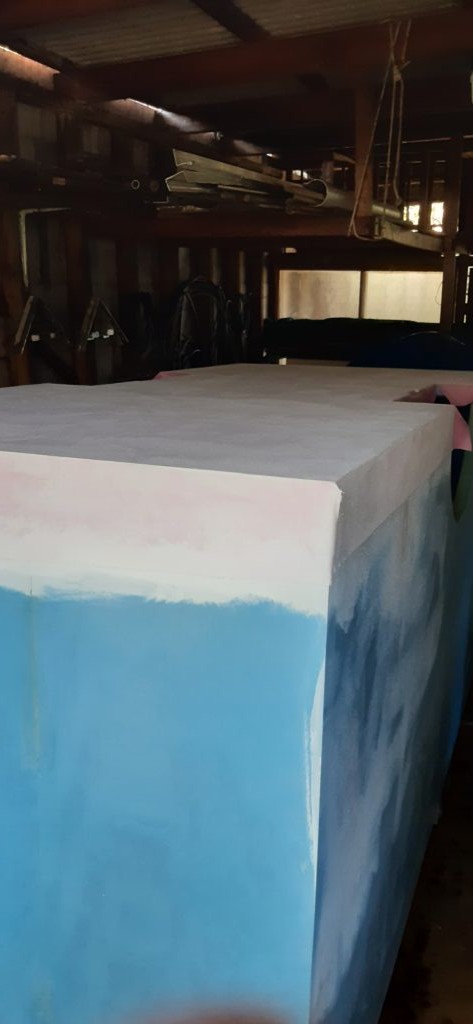
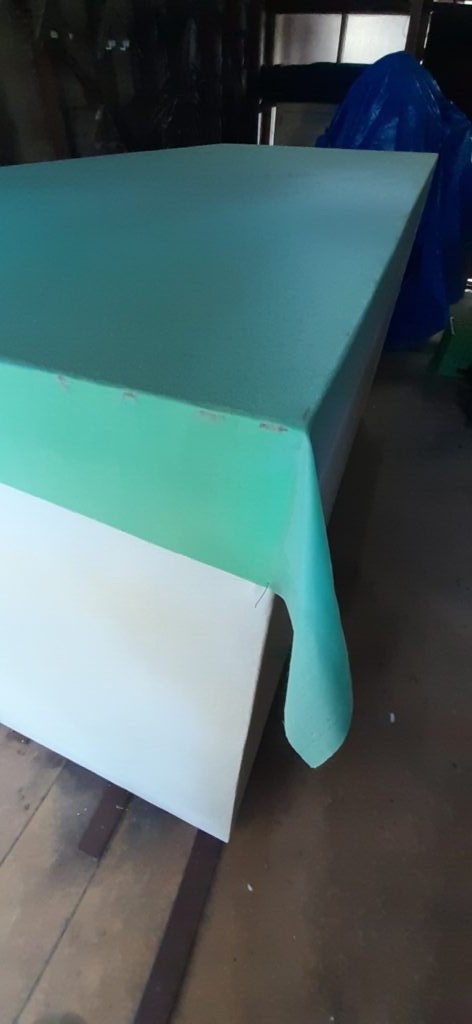
After all the gaps had been filled, it was flipped it on its roof. I wanted to start from the base and work towards the roof, so any seams would overlap downwards when it is upright. I cut the fabric to fit the base. It overlaps 90mm on all sides. I marked the edges to help line up the fabric when replacing it over the paint.
Was happy and a bit miffed to find the fabric is 1140mm wide. I had in my head that it was 1000mm wide. That's great as less seams needed. The side laminate is one piece of fabric wrapped from the back, down the side, across the front, down the second side to the back. Over five metres. I'll have to cut 10mm off all of it. Miffed, as when I lowered the roof, the height from the bottom of the floor to the top of roof is 1130mm. I'd have made the roof 10mm higher if I'd known.
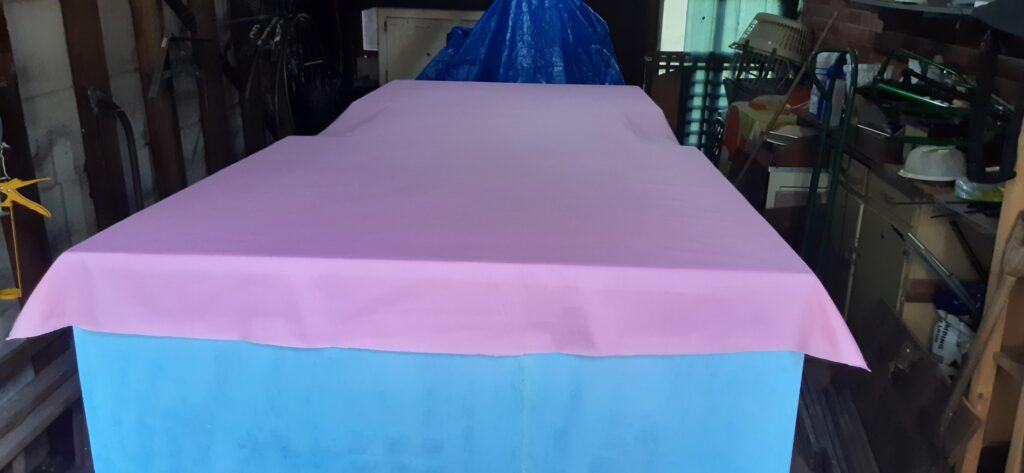
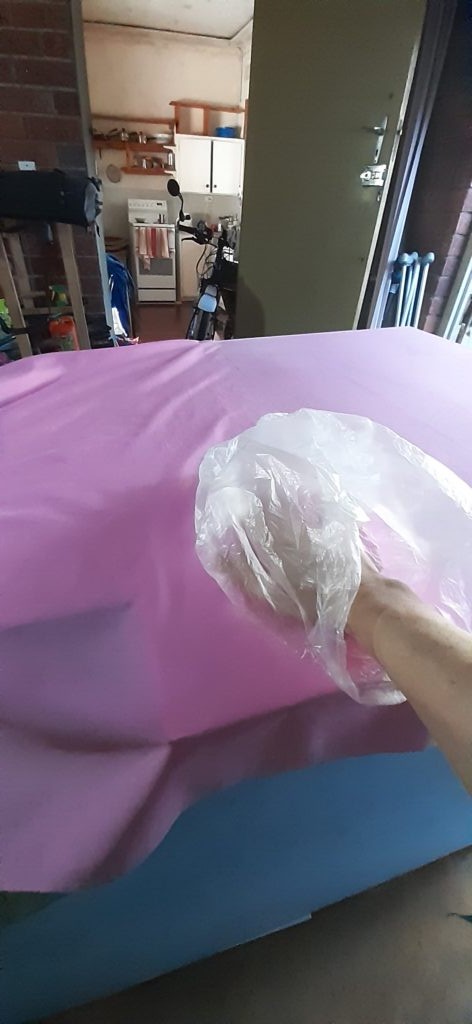
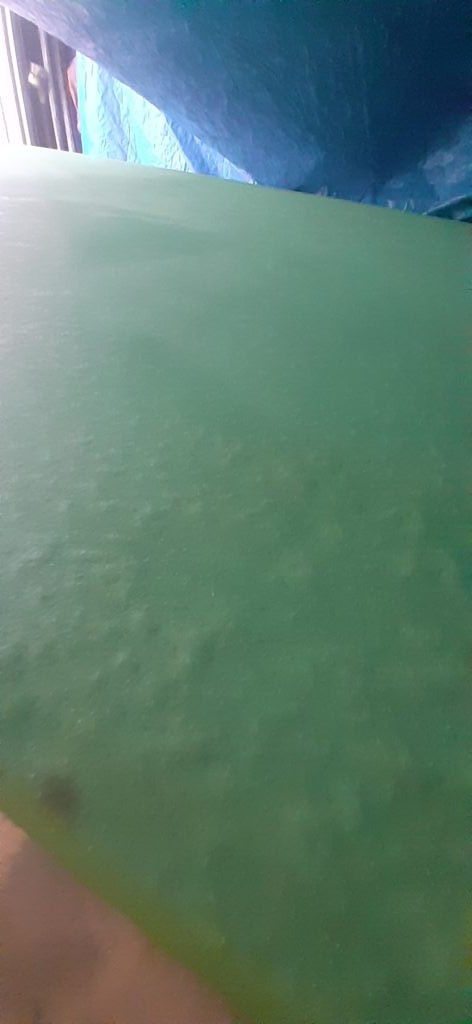
I had decided to just use paint to attach the fabric. Applied paint on the foam, press the fabric into the paint. I put a plastic bag over one hand to smooth the fabric. The plastic slides. The other hand, I could grab and stretch the fabric to help pull out any wrinkles. Another coat of paint was immediately applied over the top to wet the fabric fully. It was important to get the fabric saturated, else it didn't stick well to the foam.
I had a few bubbles appear after it had dried. To fix them, I used a pin and punctured the bubbles. Keep pricking the bubbles to make a lot of holes. Can't have to many holes. Some of the bubbles deflated with this. But if they didn't, I smoothed them flat and apply more paint over the top. They stayed down after that.
Everything went pretty good. Only worry for me was that the fabric was soaking up the paint.
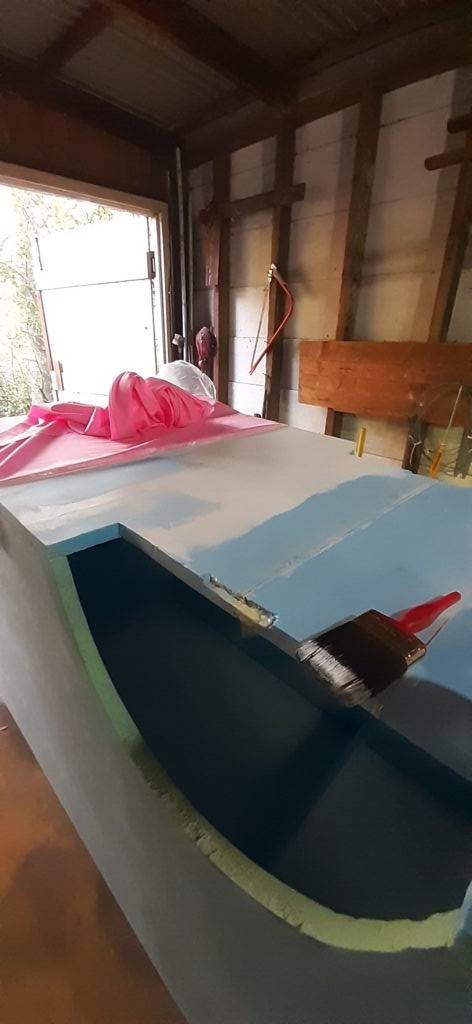
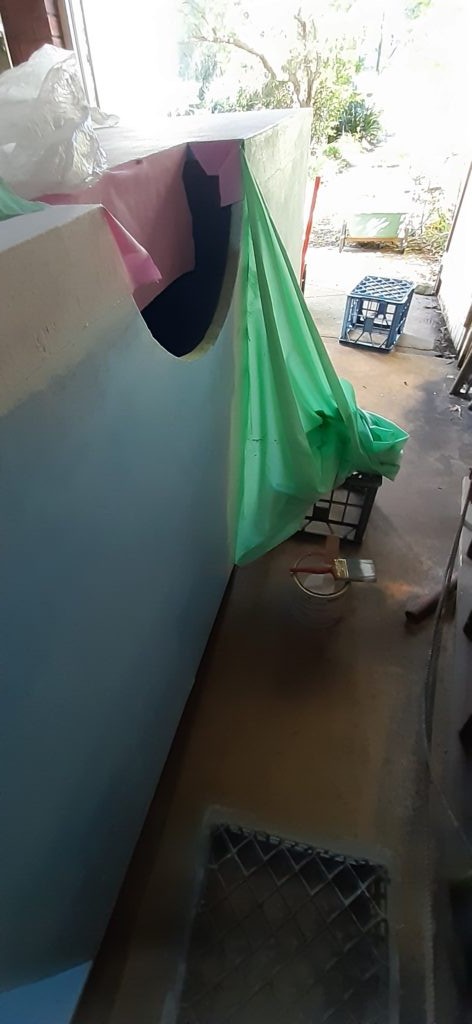
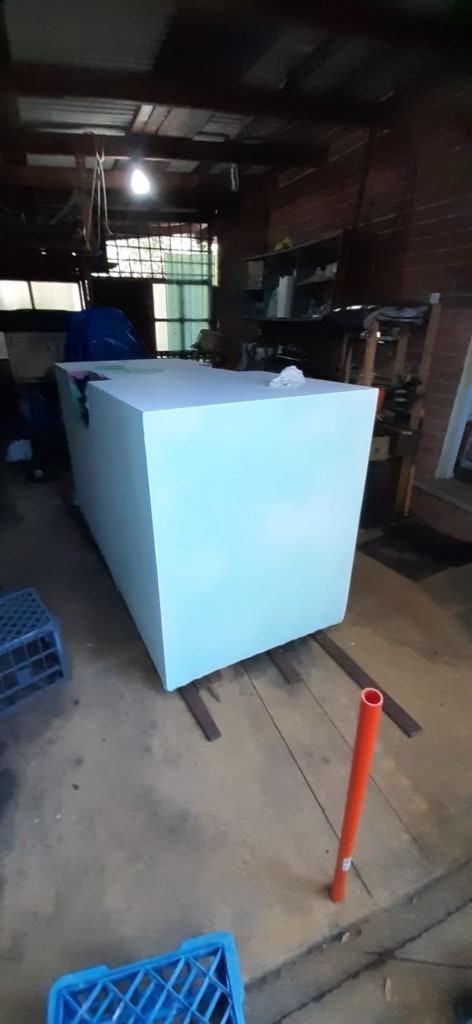
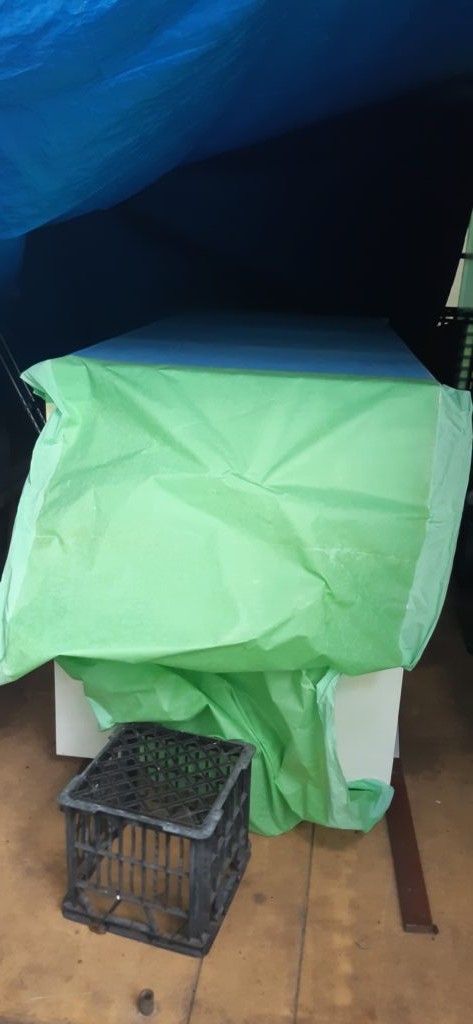
Finally I flipped the cabin on the base and to laminate the roof. And this is where I stuffed up. For reasons that escape me now, I decided to use Titebond 2 rather than paint. Big mistake. It was harder to apply. It was tacky and the plastic bag trick didn't work. I had to pull the fabric tight. At the end, it looked good wet, but as it started to dry a lot of bubbles started to show. Then the weather turned to rain, and humidity was high for two weeks. The glue didn't want to dry fully. It was staying tacky. I read about using an electric iron, but lacking this, I boiled a saucepan of water and used that. I put baking paper down first and sat the saucepan of boiling water on top. The good news was that the tacky glue hardened after it cooled. Bad news was the the flat looking bubbles actually bubbled upwards. So many bubbles. Some returned to flat when cool, some didn't. What would happen in the sun? I didn't want to find out. And it looked terrible.
I peeled the fabric and glue off. Need to pull it in a peeling motion. Filled in any patches that needed it and sanded the roof again. Now I'm waiting for more fine weather to redo the roof fabric layer with paint.