But, sitting/lying on the bed and it sagged more than I liked. I experimented with more supports under the lids, and with thicker lid options. Either would have worked, but I eventually decided that the the amount of under the bed storage I had built wasn't needed. Too much storage and it's tempting to fill it. I would use the beside the bed area, and shelving. I could then cut the walls down for a lower roof height. A lower roof is better as it will catch the wind less,a and be less prone to tipping over.
Bed base was 200mm high. This was to give height to sit up on the bed. Wheel base is 800mm. Roof was 1200mm off the floor, 1500mm of the ground.
I wavered on roof height when I went to cut the walls down. It wasn't just the sit up height on the bed. The door opening height is important to me. A lower roof = a lower door opening, or a thinner lintel over the door. The door will open upwards under the roof, and I want it to open more than 90°. I want to be able to sit in the doorway and not hit my head. Decided I wanted to keep an under bed storage option for the future in case I really did need it, so rather than lowering it 200mm, I cut 130mm off. Roof is 1070mm from the floor.
More sanding and gluing. The door and surrounds. Glued the door frame to the walls. Found out later I made a mistake on the measurement. Door was too narrow. Forgot to add on the wall thickness. Lucky for me I was able to cut the excess off.
More laminating. More tries with epoxy. More tries with glue. Right now, I've delaminated more than I've laminated. Decided to give up with both and stick to using paint. Laminated the underside of the roof while it was flat on the floor. Figured it would be easier than upside down.
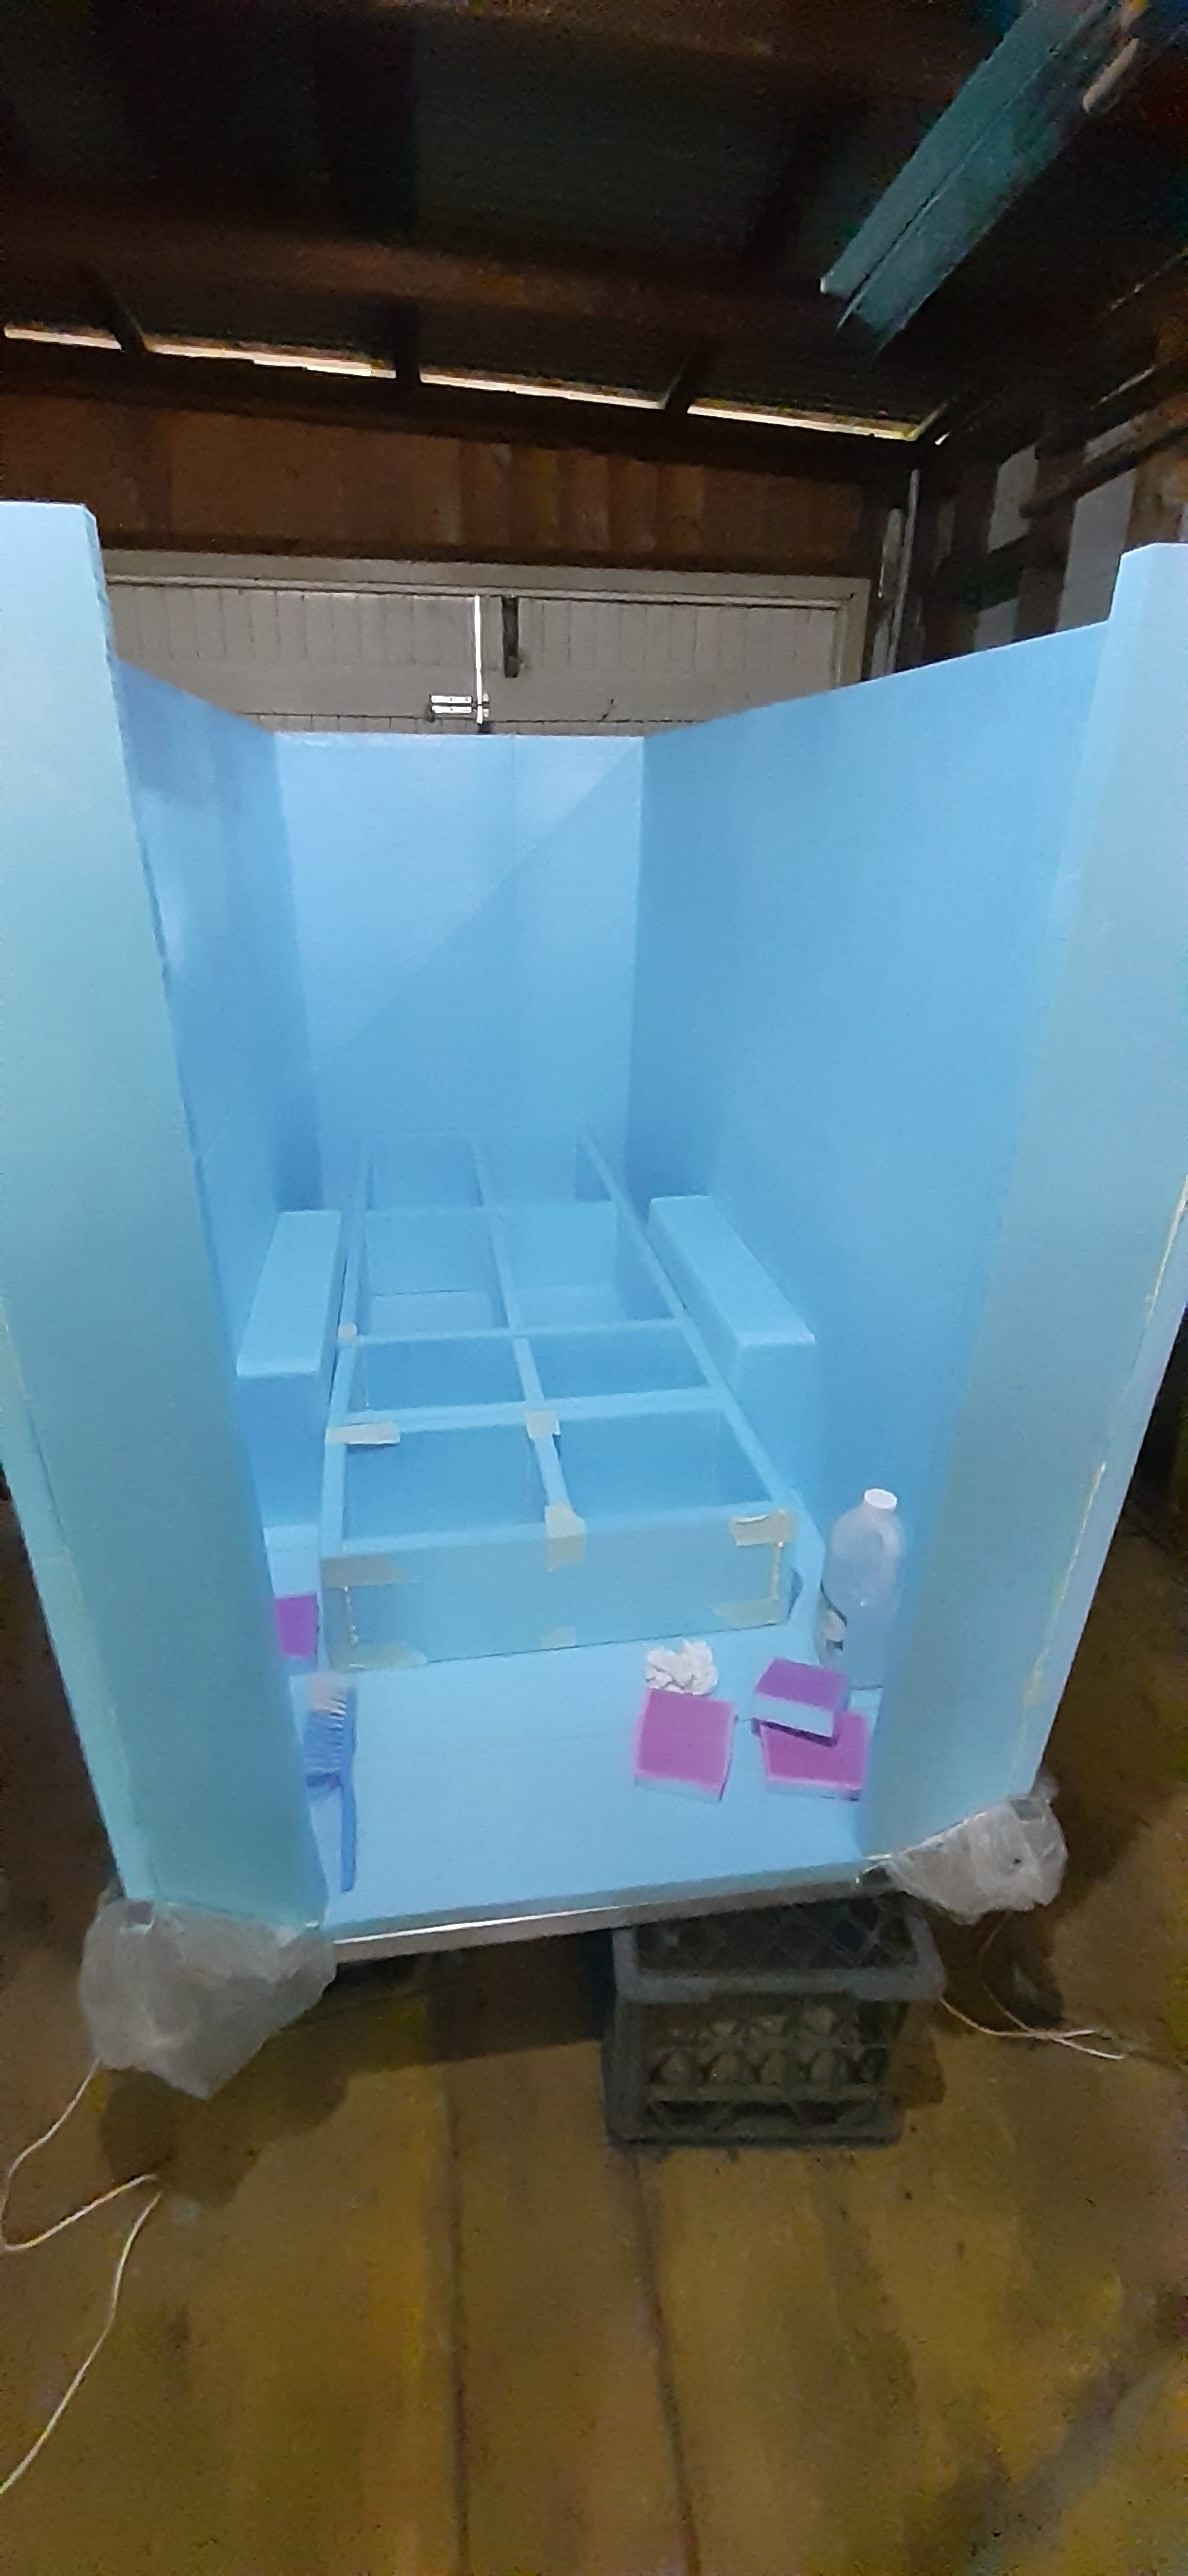
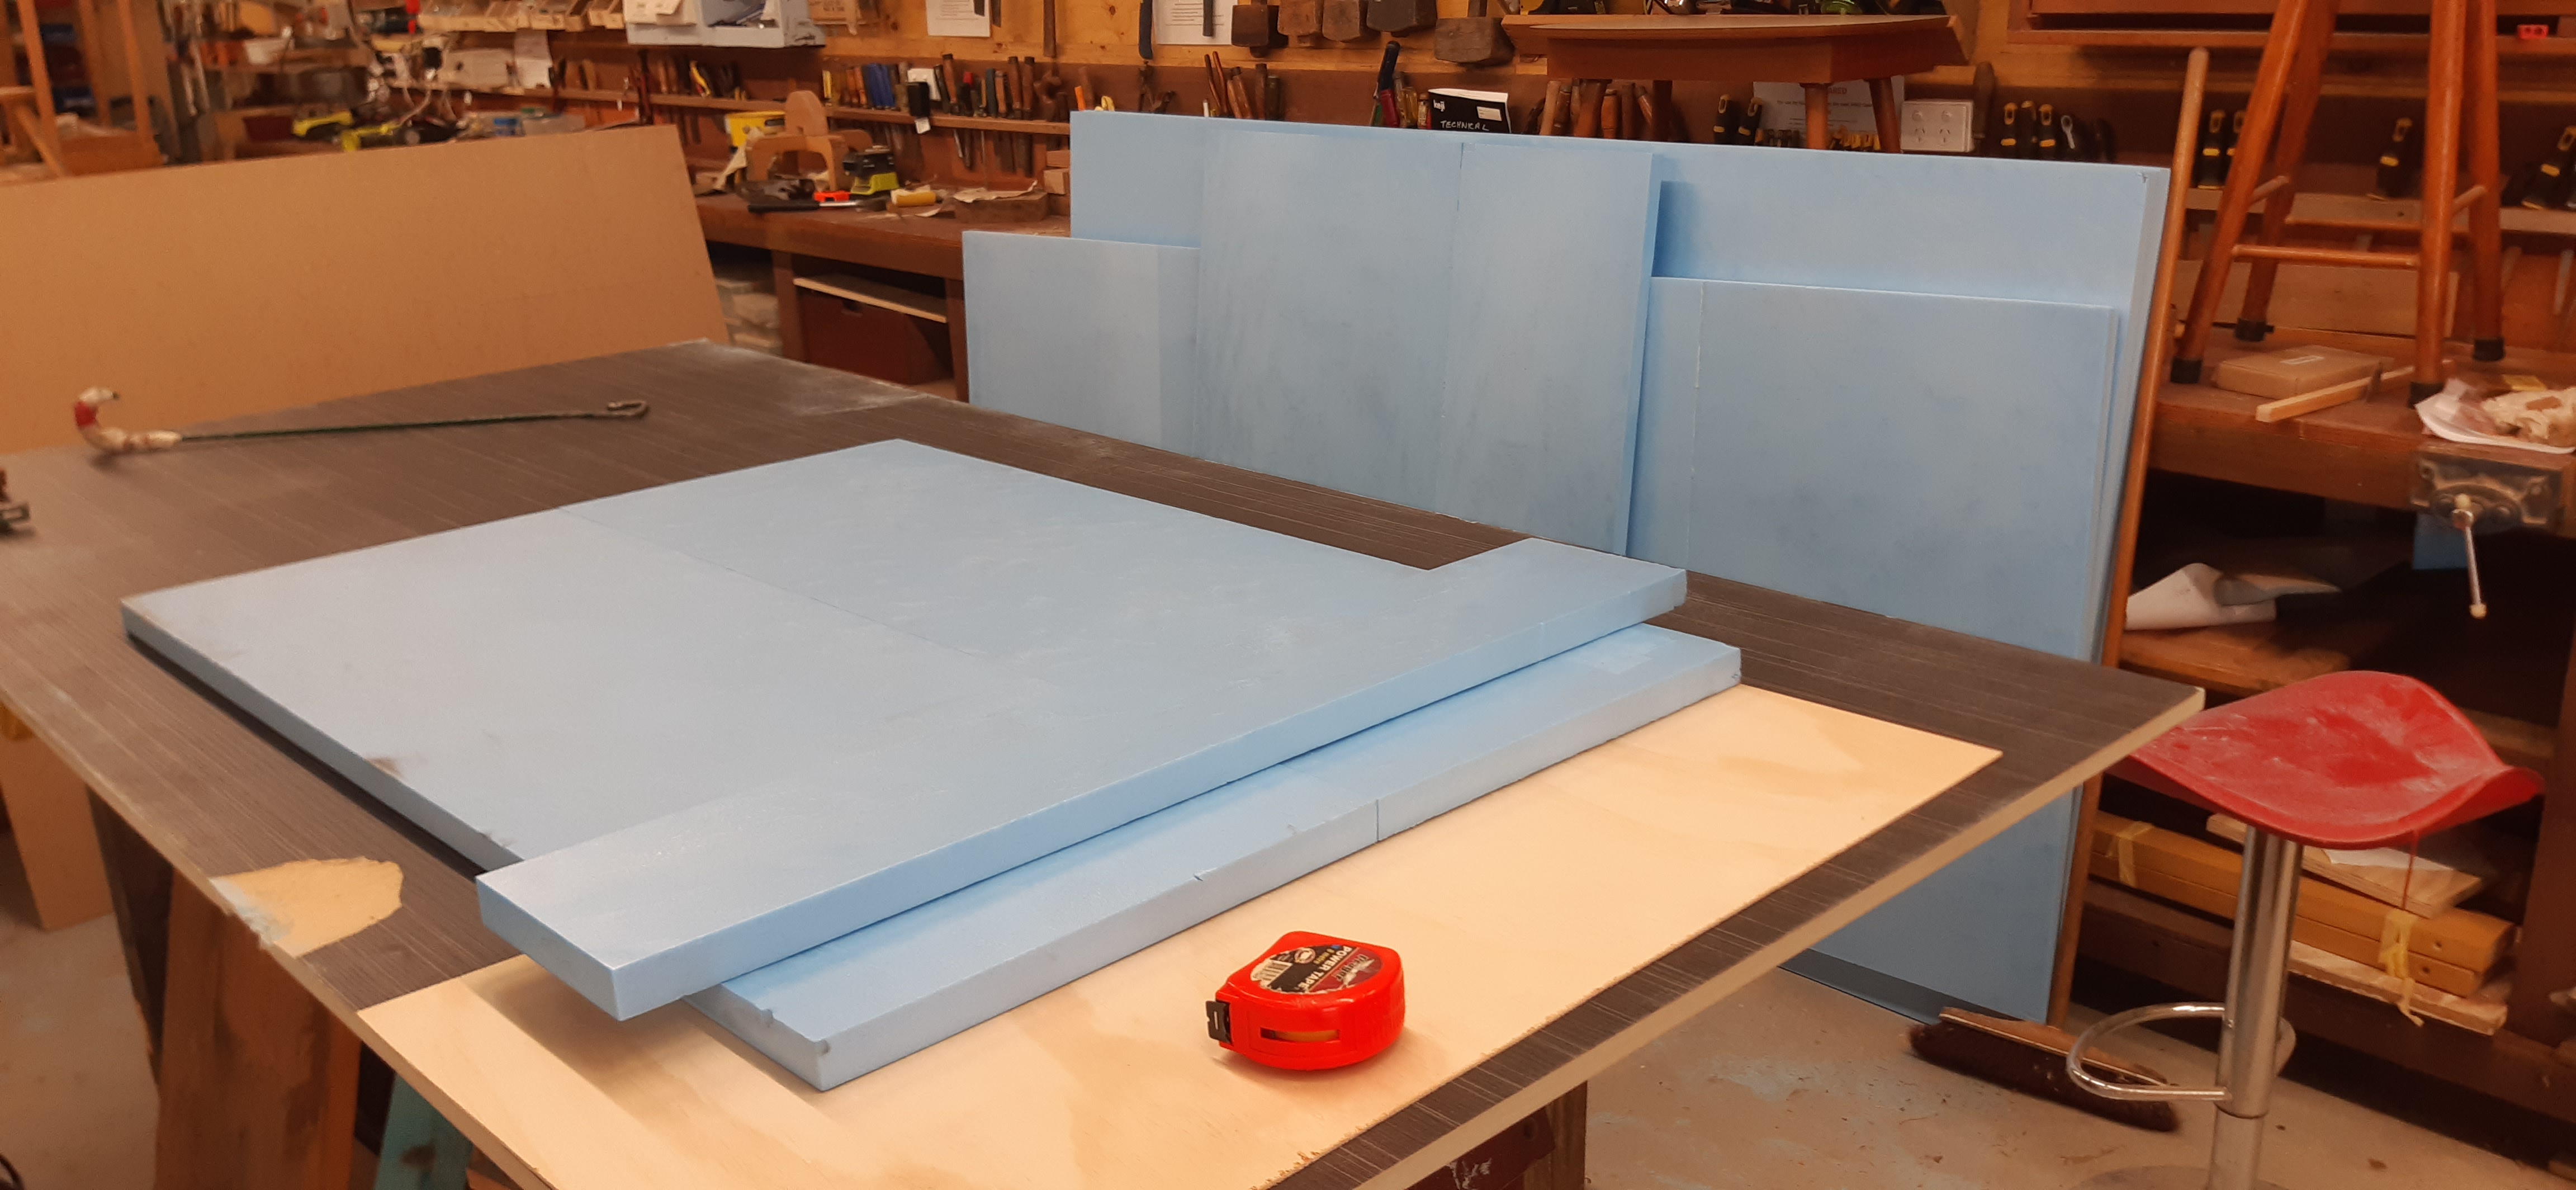
Moved the chassis to the garage and assembled the walls and roof on it. Finally it's starting to look like a caravan. Glued the side walls to the floor. Going to hold out on the front wall and the roof until after some of the internal fit out is completed.
Doesn't feel like a lot was achieved this week. Other stuff happening, meant less time for the caravan build. A few stuff ups also sent me backwards.
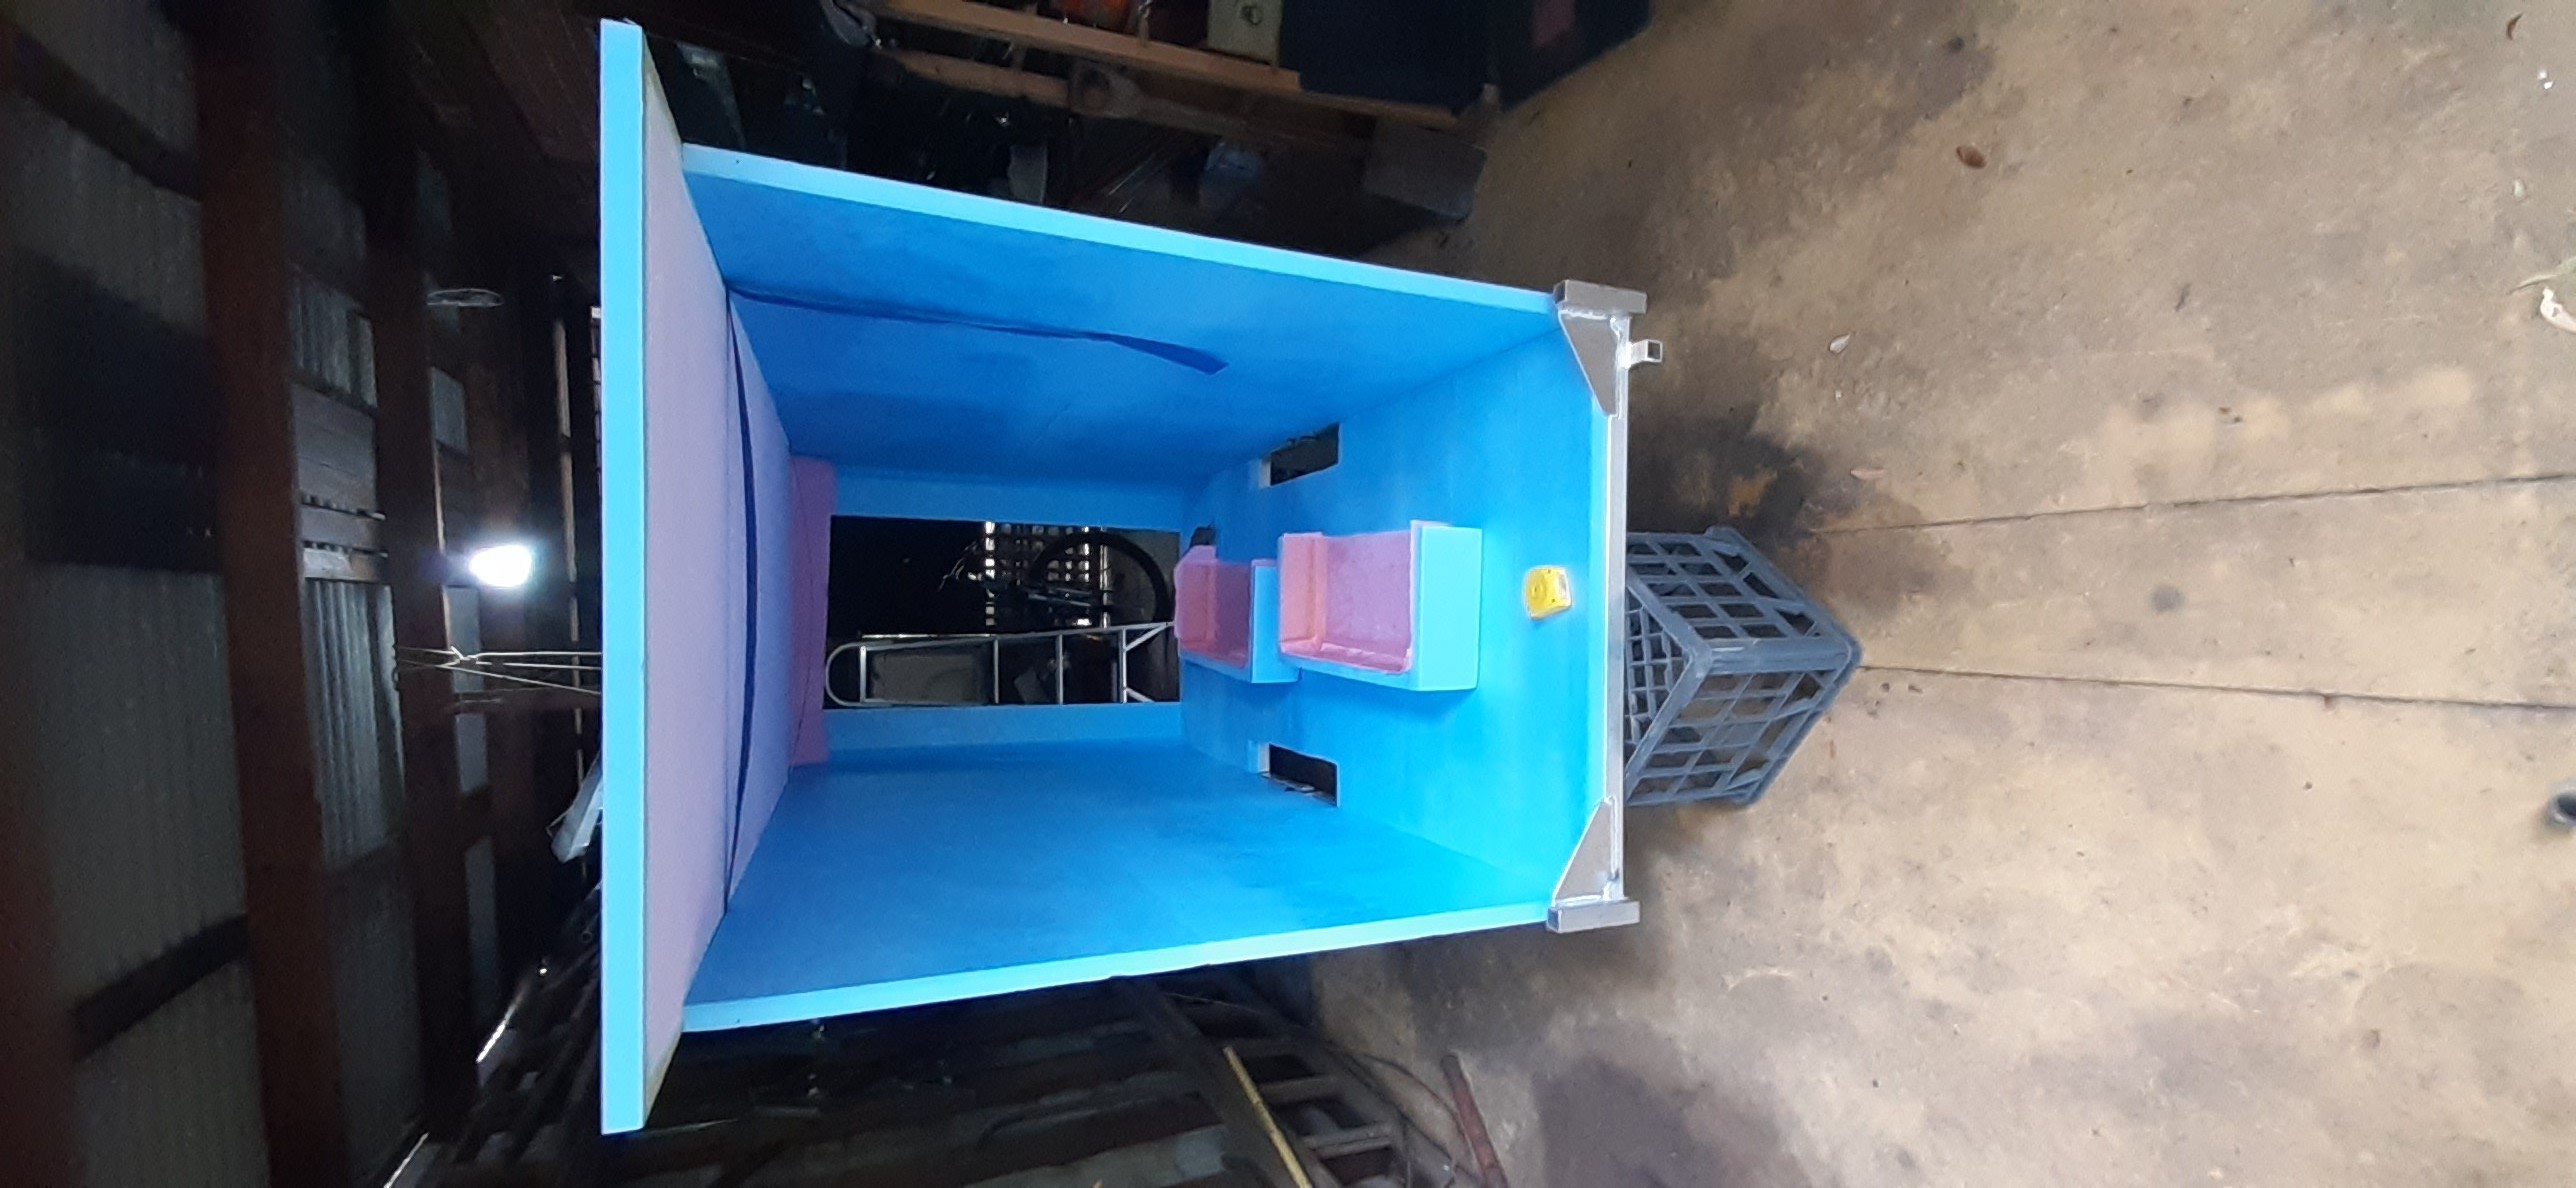
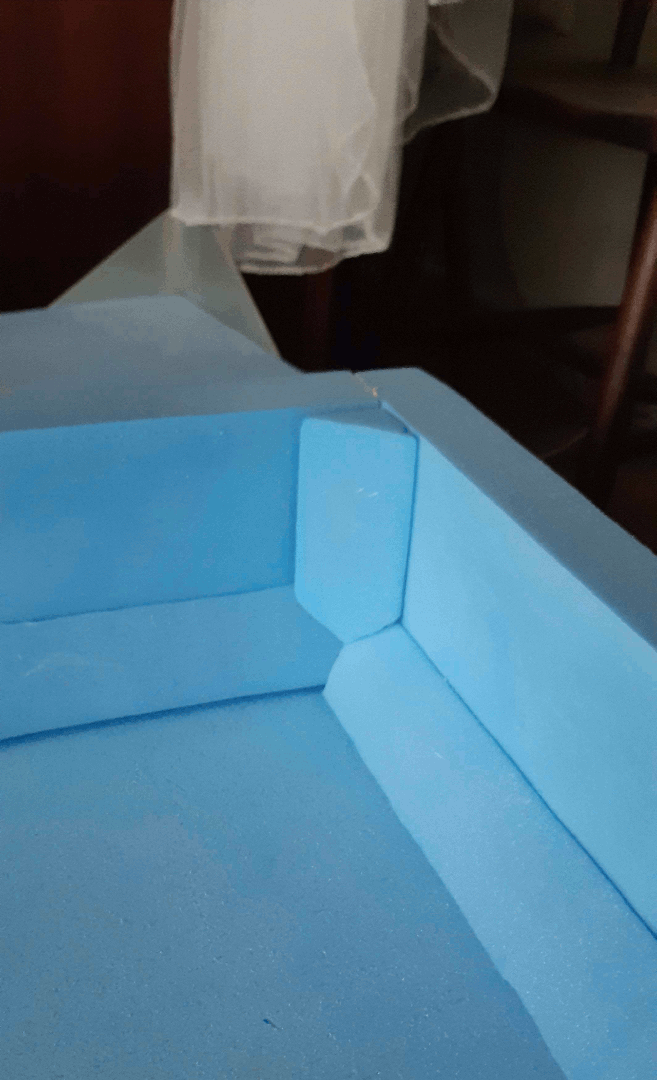
Lots of cutting foam when mistakes where made. The door was glued up. I cut and glued up the wheel well sections. I cut a lot of triangle sections to frame the corners as in the image below. They'll be glued in today and then given a light sanding in preparation for the fabric coating.
An exciting week. I gave up bashing my head trying to square off the panels. The 1200x600 XPS panels when I started weren't very square. I should have squared them all before joining them together. But it seemed a good idea to leave that until later. Now, being later, I wish I hadn't. Trying to square up the full panels was a lot harder than I thought it would be. After countless tries, with string, straight edges and not so straight edges, I gave up and asked for help.
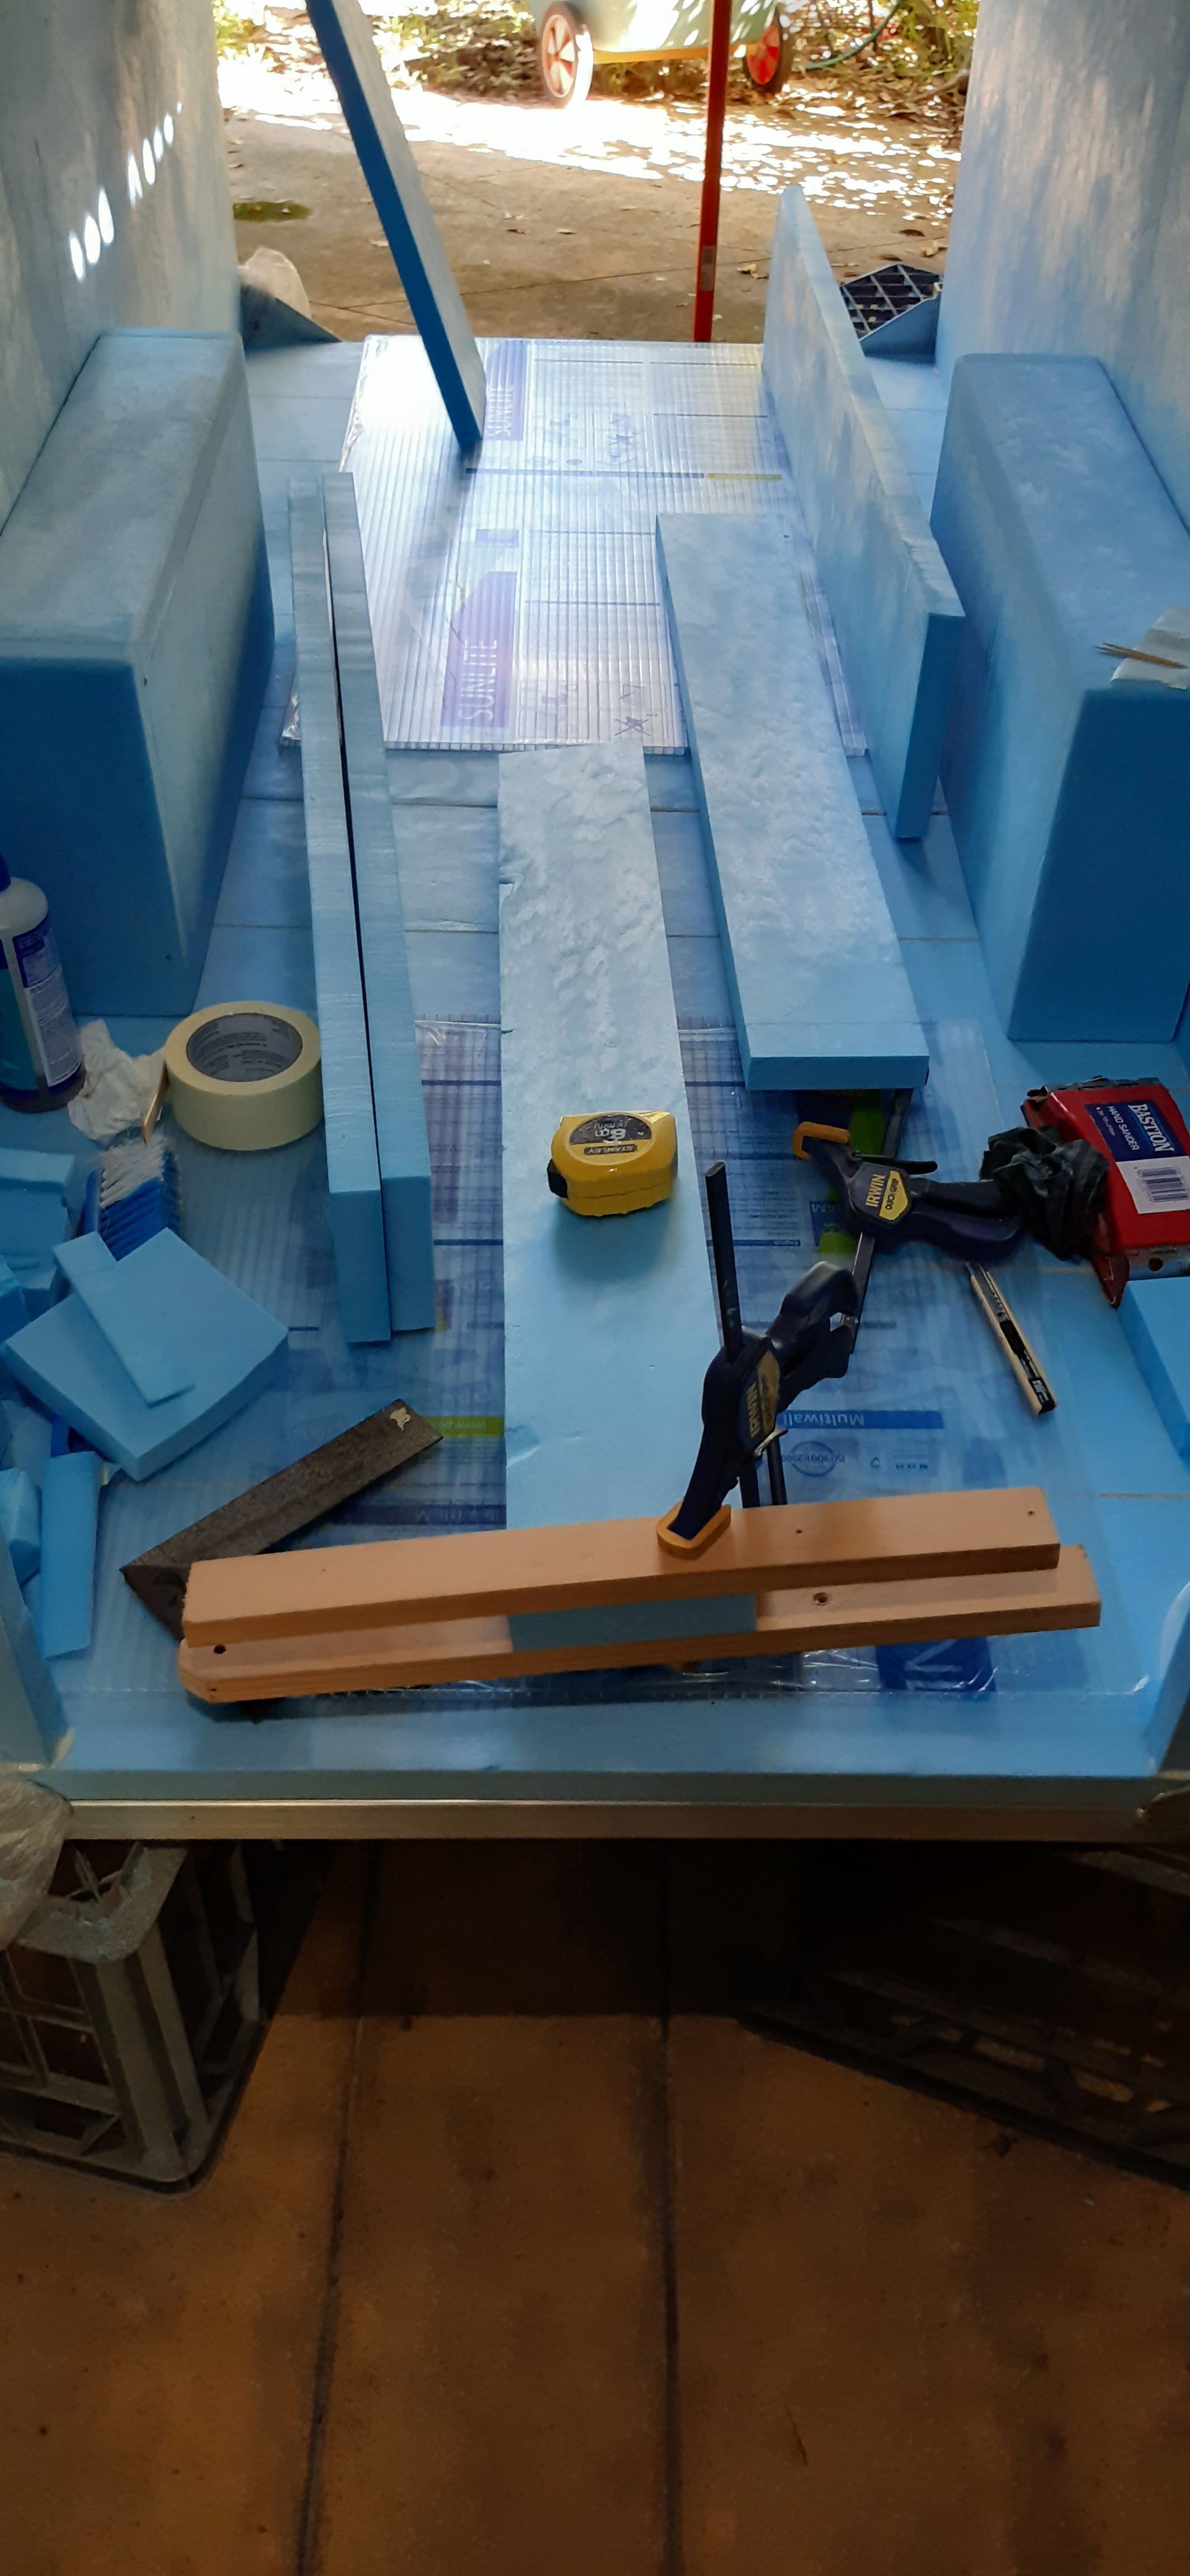
Tom arrived with his van. We loaded it all up and took it to the Men's Shed. The plan was to use the table saw to trim off the edges. No edge being straight stopped that idea. We ended up clamping a foam panel to an MDF panel set up on a table. Line up two edges of the foam at a corner of the MDF. They had to be some overlap, as the edges weren't straight or square. Check that too much foam was not going to be removed. Then I then sanded the two sides to match the MDF panel edges. I used a right angle to check the edges as I sanded. Done! Two edges (more or less) straight and at 90 degrees to each other. Undo the clamps, move the foam, line up one of the now straight edges with an edge of the MDF. Use the a tape measure to check the dimensions. (The walls needed to be the same height. The roof needed to be 960mm wide). Clamp. Sand the edge that isn't straight to match the MDF. Unclamp, move and get the last edge lined up. Clamp. Sand. Quicker to describe than to do. Several hours of sanding to get it all done. Tom then dropped me and the foam back home again. Thank you Tom!
I did another epoxy test this week. A small test piece. I used a paint brush rather than a scraper to spread the epoxy about. This test went a lot better. For one side of a 1 sqm piece of foam, the added fabric and epoxy weight would be 280g. I also did a test with PVA glue, that was right on 200g. Both are acceptable. Using a roller or scraper might get the epoxy weight lower.
I started the first epoxy pour on the front panel, but wasn't happy with how it turned out. The weight was higher than planned.
The fabric overlapped the edges so I could trim it later. Pulling on this, I was able to peel the epoxy impregnated fabric off.
It only pulled a small amount of foam off. Checking the weight, I was right. The epoxy impregnated fabric weighed 535g. So I was right with 100g fabric and about 440g epoxy. Way too much epoxy.
The 1200x960mm (1.152m²) piece of foam with some epoxy still on it is 1200g. I weighed some spare pieces and 1m² of foam weighs 1.027kg. This is heavier than the 900g I was calculating on, so the panel should weigh 1184g. There is a little epoxy in the join and on the edges where the fabric wasn't.
Need to do more epoxy testing. I'm reluctant though. Thinking to change to using glue and paint only. Thinking about it. I started some test pieces. It's much easier to use. Still deciding how I'll go forward with that. I'll get the foam pieces squared off first, then coat them. This will give me more time to decide.
I cleaned up the chassis, support legs and drawbar removing rough edges. These were on the inside of the tubes. I used rags to clean out any aluminium filings. Also marked up the support legs to cut the adjustment slot. Need to wait for a teacher on that. They'll show me how to safely use the lathe or milling machine.
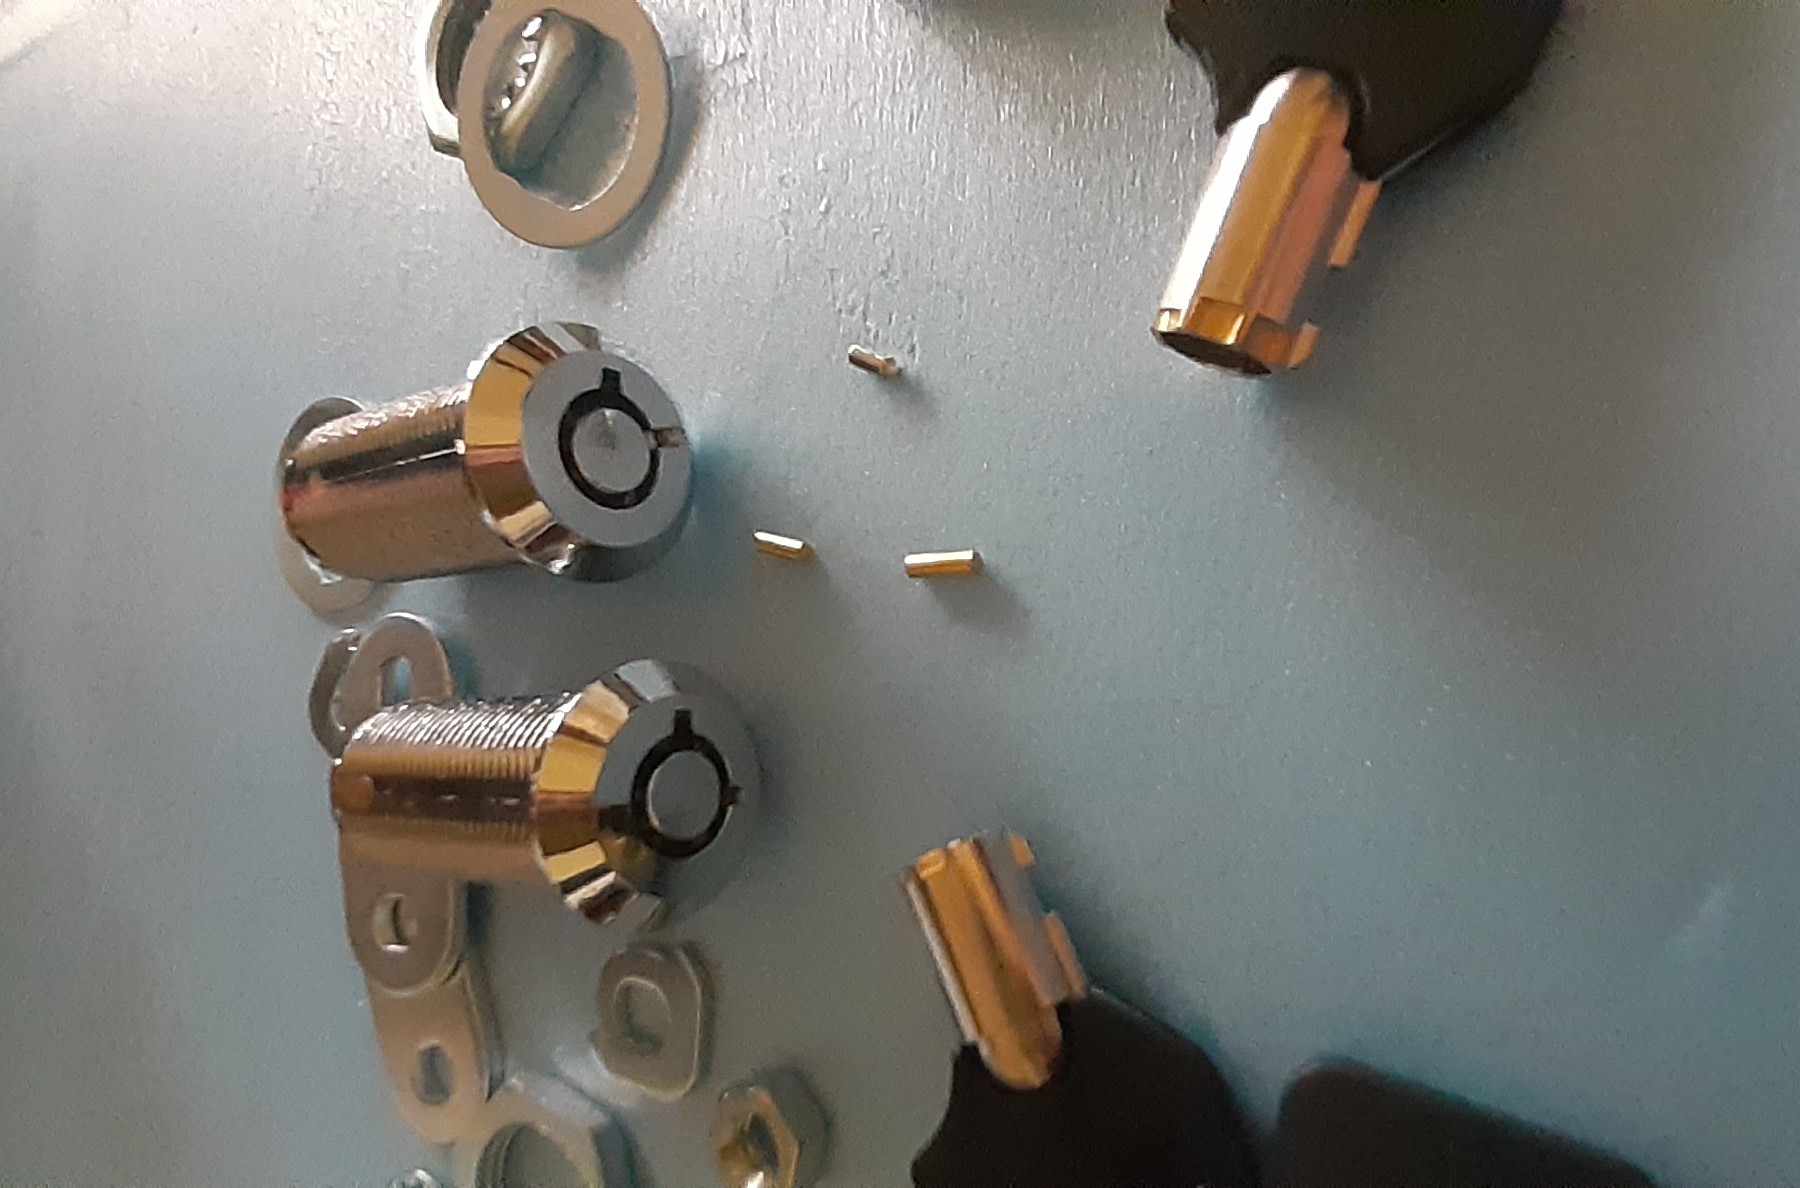
The door locks I had ordered ended up being a "captured key" type. These are for mailboxes, or cupboards where you put the key in, open the lock, but can't remove the key until you close and lock it again. Easy, I'll just drill a hole in the right place to let the key out. It worked!
Until I taped the lock. Small brass pins fell out. Locks aren't meant to do that: drop their innards out. The lock jammed up. As I had two locks, I decided to try drilling between the pins. But that didn't work either. Pins still fell out. Two locks stuffed.