When I planned the caravan, I took a quick look about on online for solar panels. I saw that a 100W panel was about 1m long. The next size up was about 1.5 or 1.6m long. That was the basis for the caravan. If I'm committed to 1.6m, when my tent is 1.9m long, why not sleep under the solar panel?
A few months ago I looked quickly on Ebay and saw 300W and 400W panels. Small sizes too. Wow. This is great. Cheap too! I could get 4 panels on the roof. That's an amazing 1200 watts! I'll be swimming in power. Solar must have improved a lot. I was happy for weeks.
Then I went to order.
Money on the line, so I really dug into the details and specs to compare panels. A huge face palm moment. How did I not notice earlier!
I won't put a link here, but search Ebay and you'll find a lot of examples for cheap solar panels. I'm looking at flexible panels, but this also applies to rigid panels.
Taking one example on Ebay, advertised as 400W for $136.99. Looking through the nice pictures, lots of claims of high efficiency. High conversion rate. Panel size is 960x670mm. Nice and small. The seller has a lot of sales. High ratings and good reviews.
Scrolling down to "Item specifics" to get more details is the first hint of something not quite right.
Power: 201-300W Charging Mode: PWM (Pulse Width Modulation)
Connector Type: MC4 Wattage: 300-399W
Power versus Wattage? What's this about? Both given as a range, but it is advertised as 400W. What would I really get out of it?
The panel is using monocrystalline cells.
Solar Technology: Monocrystalline
Googling, the top result: Monocrystalline cells are rated at 15%–24% efficiency. Looking at other results, 15%-20%, 15%-23%. Note this is for the cell. After you encapsulate it in plastic the rating will drop. But then searching for solar panel efficiencies, I also find 15%–24%. Cheap Ebay panels are unlikely to be 24%.
Standard Test Conditions (STC) are the industry standard conditions under which all solar PV panels are tested to determine their rated power and other characteristics. When a panel is advertised as having a capacity of 350W for example, this is the power it is expected to produce under STC.
It tests a cell at:
Cell temperature: 25°C
Irradiance: 1000 W/m²
Air mass: 1.5
This is the cell, there are other measurements that give a more real world data for a panel.
But taking STC, and using the 1000W/m² and a low and high efficiency value, we have:
The panel size is: 0.960x0.670m = 0.64m²
Panel Wattage = Solar Irradiance x Area x Efficiency
Low efficiency: 15%
= 1000 W/m² x 0.64m² x 15%
= 96 W
High efficiency: 24%
= 1000 W/m² x 0.64m² x 24%
= 154 W
96-154W is a long way from the advertised 400W. Not even close to the 201W power rating either.
But I might not get even that. That was at 1000 W/m². Using the solar radiation in Sydney. On the day I was doing the calculations, the maximum was 961W/m² at midday. The average of 10am to 3pm was 833W/m². The day average was 569W/m².
Running the numbers again this time using 15, 17, 20 and 24% efficiency for the hours of the day. How many watts at the different hours at an efficiency.
October 28
Sunrise
06:00
Sunset
19:18
Total
7398 wh/m²
Panel m²
0.64
Time
W/m²
15%
17%
20%
24%
07:00
144
14
16
18
22
08:00
376
36
41
48
58
09:00
594
57
65
76
91
10:00
777
75
85
99
119
11:00
901
86
98
115
138
12:00
961
92
105
123
148
13:00
826
79
90
106
127
14:00
771
74
84
99
118
15:00
763
73
83
98
117
16:00
612
59
67
78
94
17:00
445
43
48
57
68
18:00
213
20
23
27
33
19:00
15
1
2
2
2
What time you test and the efficiency of the panel matters. In the real world, that 400W panel is only going to give a maximum of 148W on that day if (and that's a bit if) it is 24% efficient and the temperature of the panel is 25C. Spoiler: It won't be 25C in the sun and it isn't 24% efficient.
All the high quality brand name panels I checked had Monocrystalline efficiencies of 17%, so using that, the 400W panel might give 105W at midday at most. Real world will be less. Flexible panels also degrade faster than rigid panels.
But all is not lost.
I created a spreadsheet of all the solar panels I was looking at. On and off Ebay. The off Ebay panels were by Renogy, Sunman and ATEM. Their specifications as advertised. Price, size, advertised watts, panel type, Voc and Vmp. I then calculated the watts at STC for all panels based on its size. No surprise, most Ebay panels were way less than advertised. But not all. All the non Ebay panels I included were better than advertised at STC.
I also calculated $/watt at STC for all panels. If area wasn't a concern this would be one deciding metric, but panel size was also important to me. I only have so much space on the roof. How could I get the maximum use of it?
With the different panel sizes, I could get between 1 and 4 panels. In the end, I decided on three Ebay panels advertised at 400W, but by my calculations are more likely to be 90W each. I got lucky that the seller was having a sale, so each panel ended up costing $70 delivered. There was a Sunman panel I really liked with watt output only slightly lower than the combined three I panels I ordered. But I could only get one on the roof and it's price was significantly higher. Annoyingly a couple of weeks later, they had a 60% off sale. At that price I would have purchased it. But too late by then.
I'm happy with the three I did order. All the reviews of flexible panels show they don't last as long as rigid panels. Flexing cracks the cells, lowering output. Over heating is a problem if they don't have an air gap underneath. As my caravan is insulating foam, I intend to mount them raised. So having cheap panels for a first go suits me. I think of it as an experiment to test the mounting system. When they fail, I'll know more about my usage and the mounting system. Then I might look at a more expensive options.
This year the caravan will finish! Well, finished enough to be in use. I'm not sure it will ever really be finished. Already I have a list of fixes, changes and improvements. But not now. The focus is on getting it done. Changes can happen later.
December was looking promising. I had lined up time with my welder friend to get some chassis fixes done. The brake caliper mount. Strength the draw bar attachment. Make the disk brake handle mounting seen in the previous post. I also lined up another friend to help with the electrical wiring. The best laid plans of mice and men often go awry.1 I caught COVID. There are no quarantine rules anymore, but I wasn't going to share the infection.
I did end up getting the welding done. And over the Christmas - New Year time, got the disk brakes mounted. The cabin got another coat of paint on the outside also. I've still more to finish and look forward to the Men's Shed reopening.
The delay for the electrics turned into a good thing. It was going to be two ebike batteries: one on the ebike, one in the caravan. Charge the one in the caravan, swap with the ebike when required. But the caravan battery needs to provide power while it is charging. The BMS in the battery I have doesn't allow that. If it is charging, discharge stops. A work around was to charge it via the discharge port, but I wasn't keen on that solution. I thought to have a small 12v battery for caravan supply, and charge that from the ebike battery or solar. Eventually I decided to have the caravan just use a 12v battery and skip the second ebike battery. I'll charge the ebike battery when I'm stopped.
Been thinking about brakes on and off for as long as the caravan has been going. A lot of the European caravans use inertia brakes. I wasn't keen on that option, preferring to have direct control on the braking. Some of the caravans had no brakes. Madness! I can't think of a time when you'd think "Gee, I glad I don't have brakes!"
So, I need to activate two brakes on the caravan from the bike. And it needs to be able to disconnect. I've flip flopped between mechanical and hydraulic, one lever or two. Even considered electrical. Stressed over if one or two cables from the bike all the way to the caravan wheels would be able to activate brakes. Would there be too much play in the system? Do I need a booster system. Do I need pulleys in places to smooth the action?
I decided to use hydraulics at the calipers. Mainly to avoid having to adjust them. So then it turned into how activate them. One lever to activate both? They do make such a beast, but besides the eye watering price tag, I didn't find any quick connectors for bicycle hydraulics. So have to use two levers. I did consider making new levers, but using the existing levers would be simpler for the future.
The previous post with the caravan hitched to the bike was to see how much clearance there was for the brake lever mounting. Heaps of space. phew!!
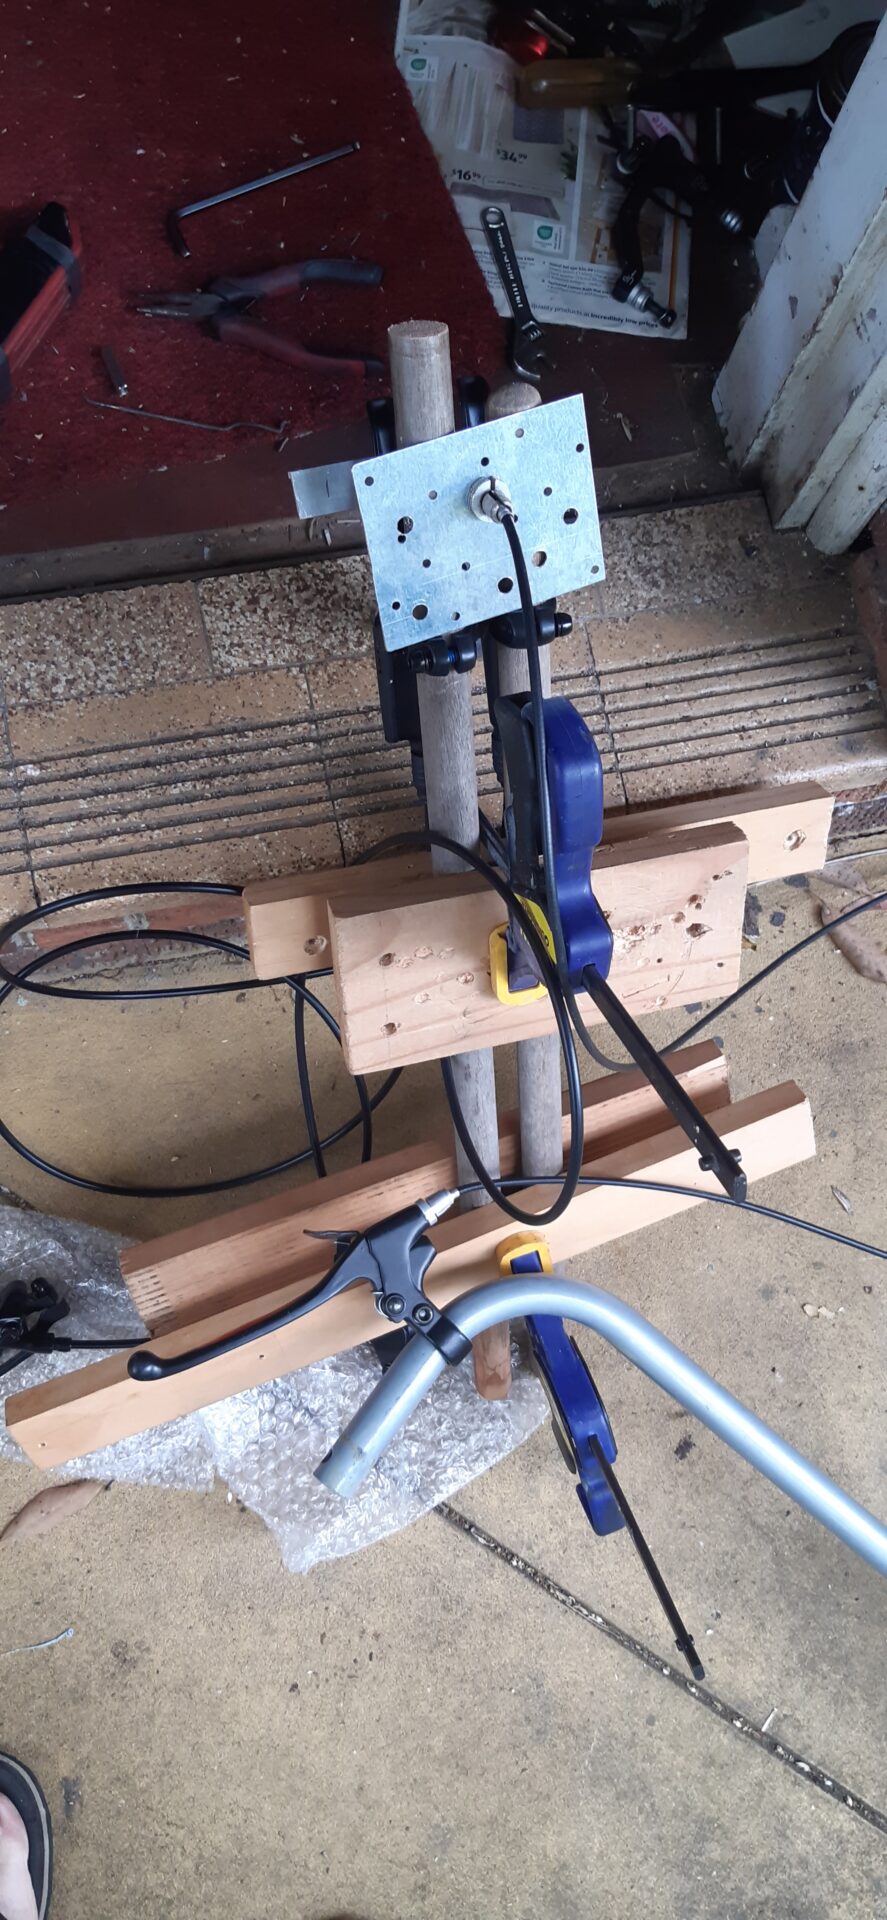
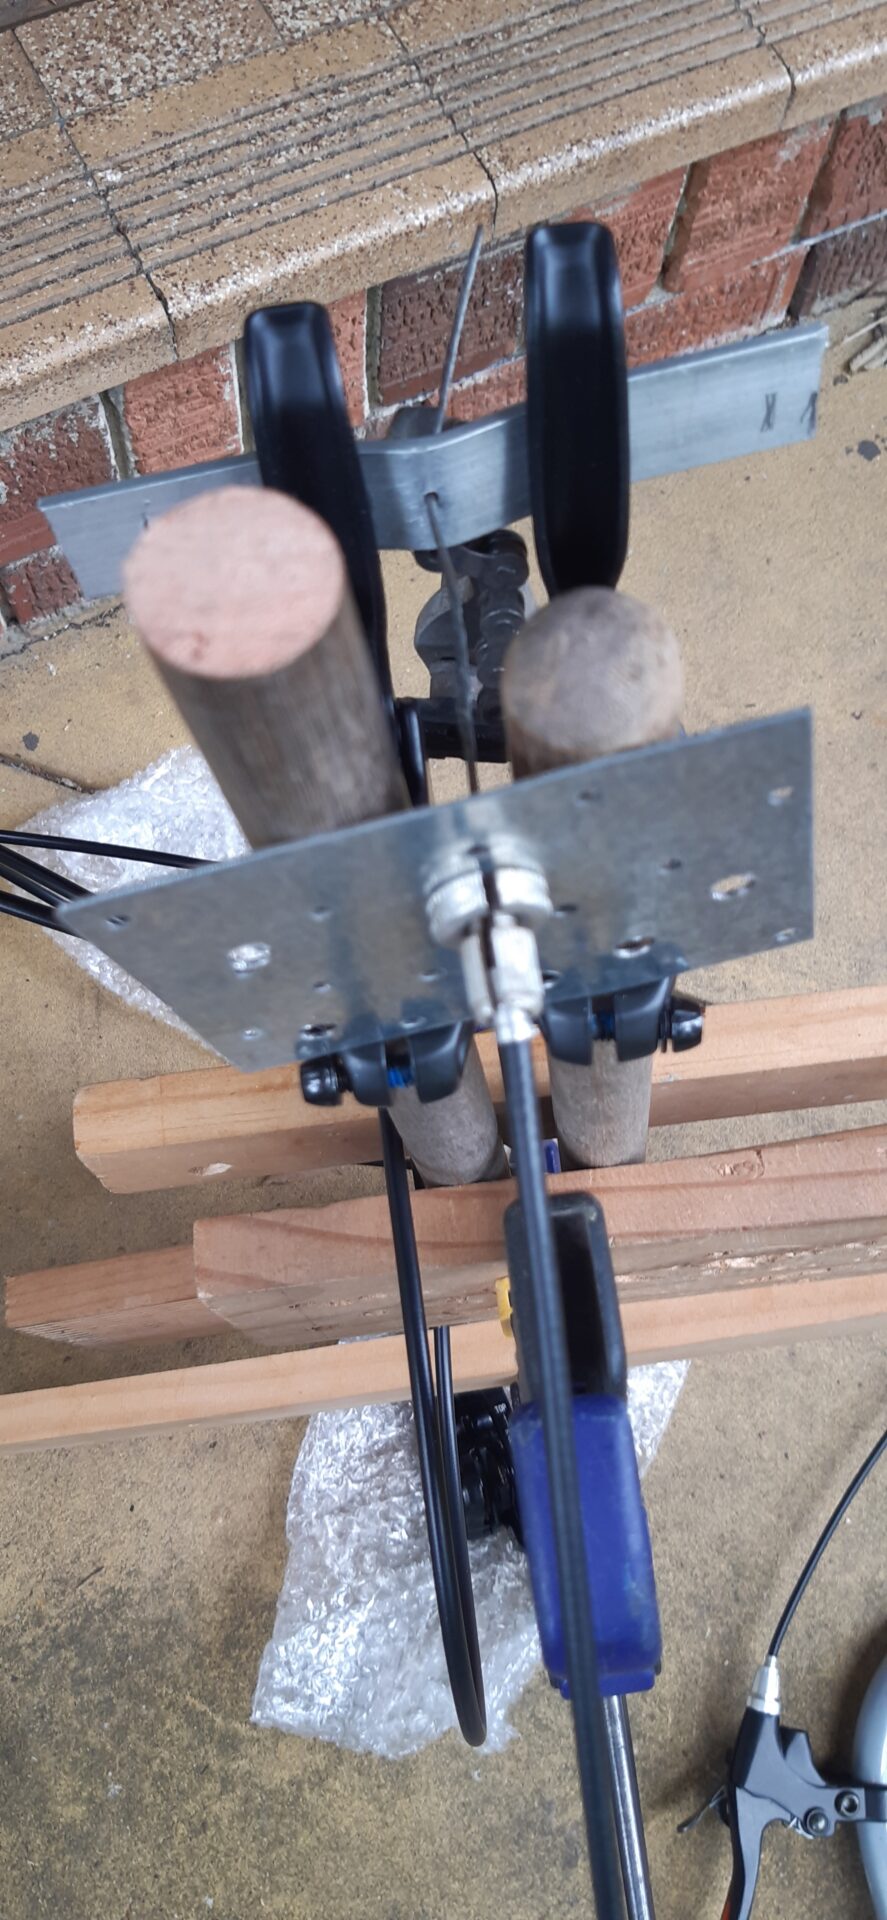
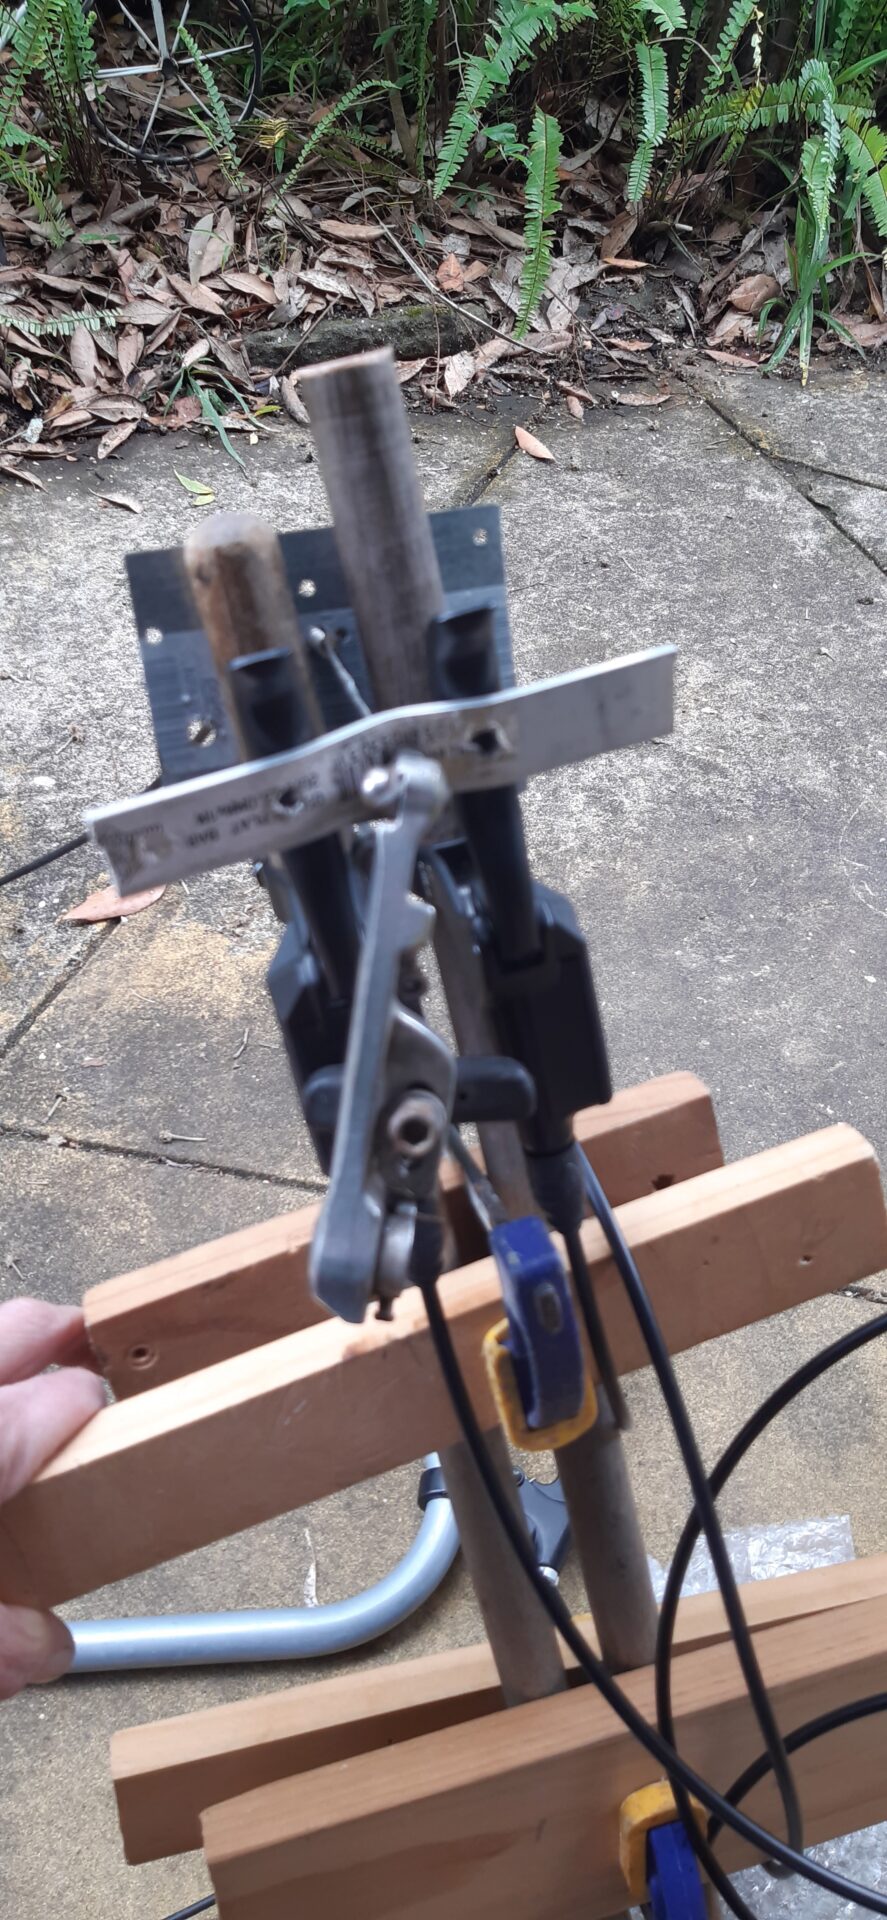
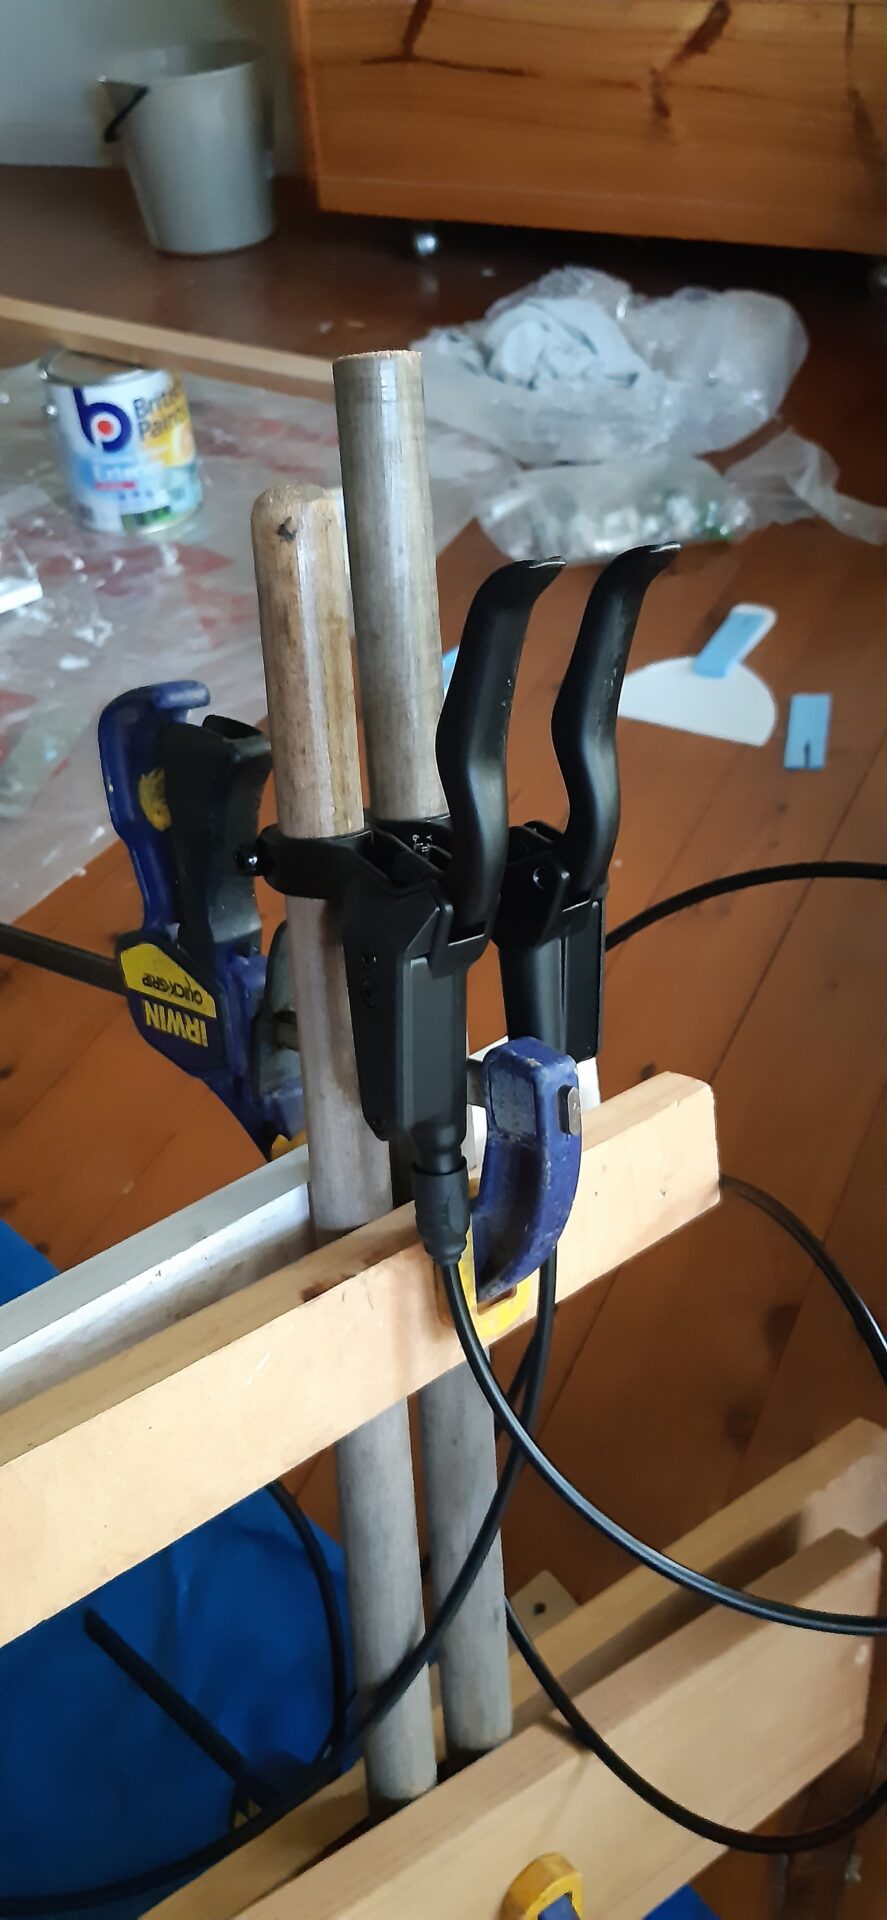
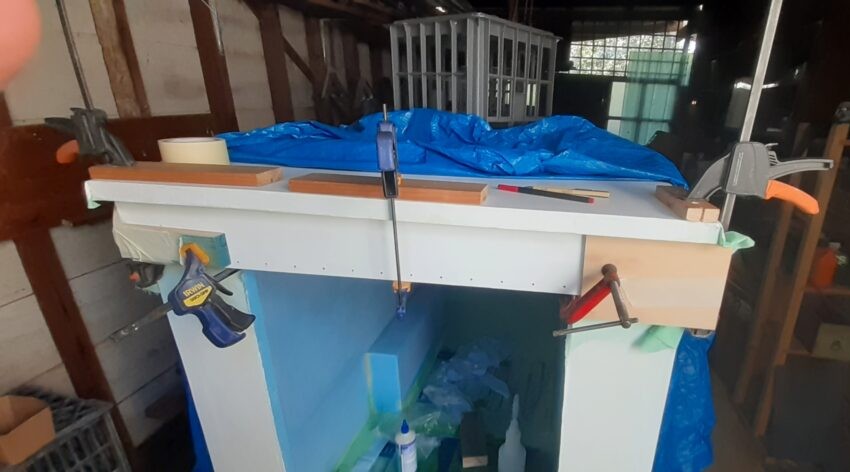
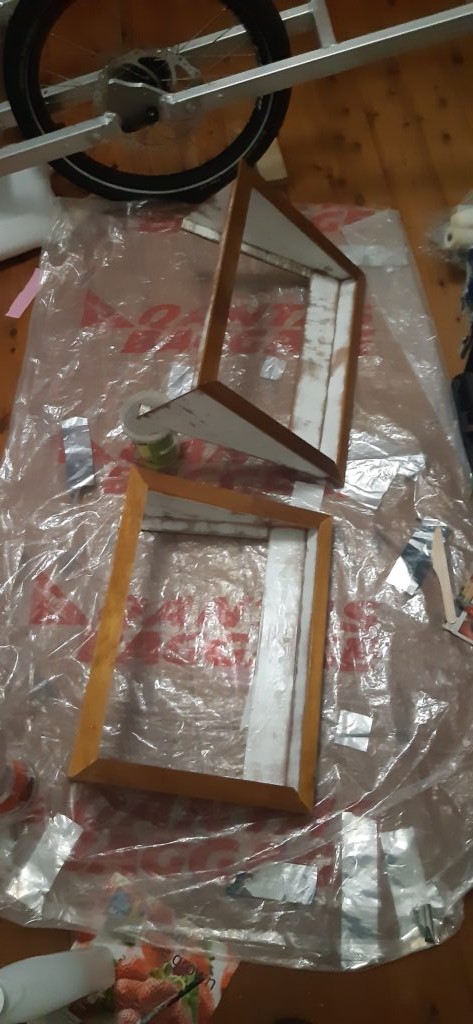
Deadlines focus the mind. Tackled the brakes. Cobbled together this test setup. Dowel, wood clamps and scraps.
A lucky piece of aluminium with just the right bend in it for the back. I don't think my test would have worked so well if it was flat. I used an old V-brake to pinch the cable so it wouldn't pull through.
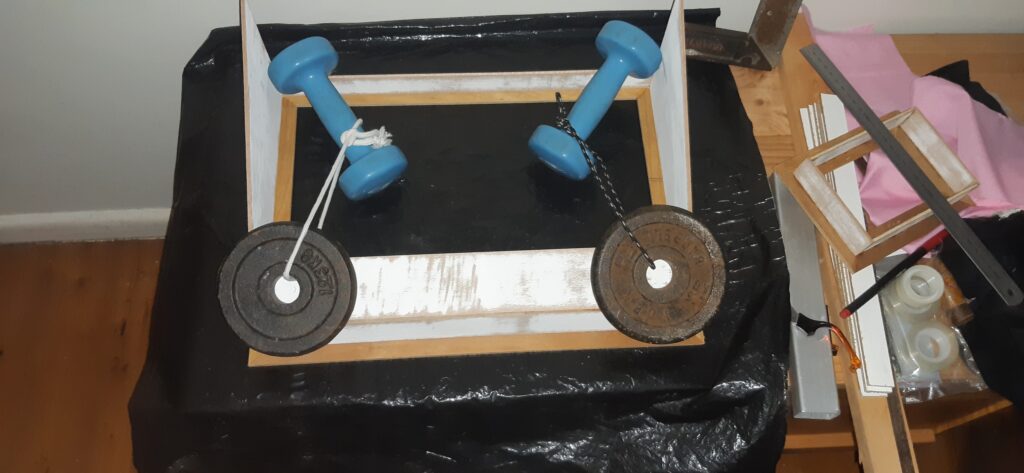
It worked! Very happy with the it. A few refinements will be needed for the final design. Needs more clamping. The cable could jump off too easy otherwise. The final will be out of aluminium rather than wood.
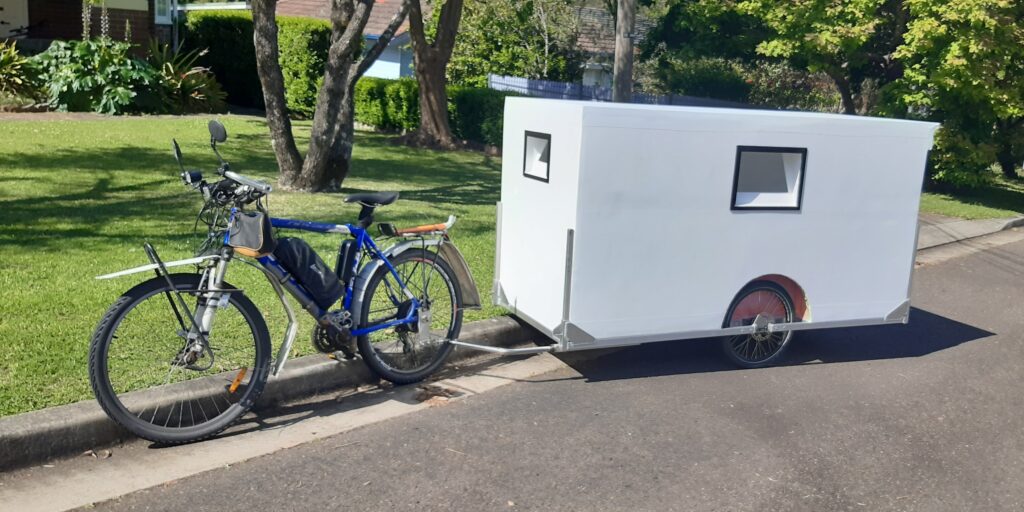
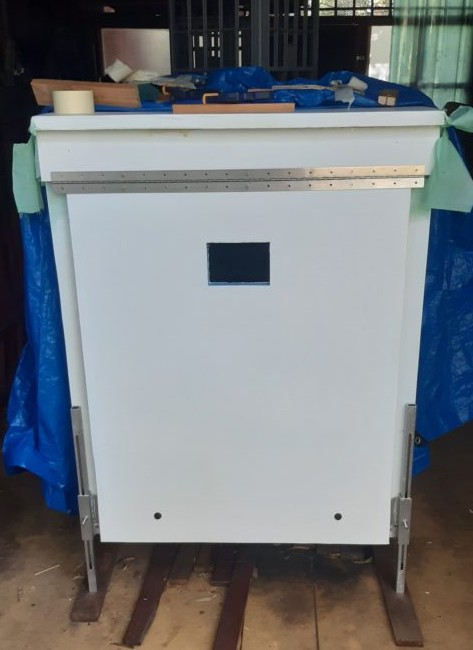
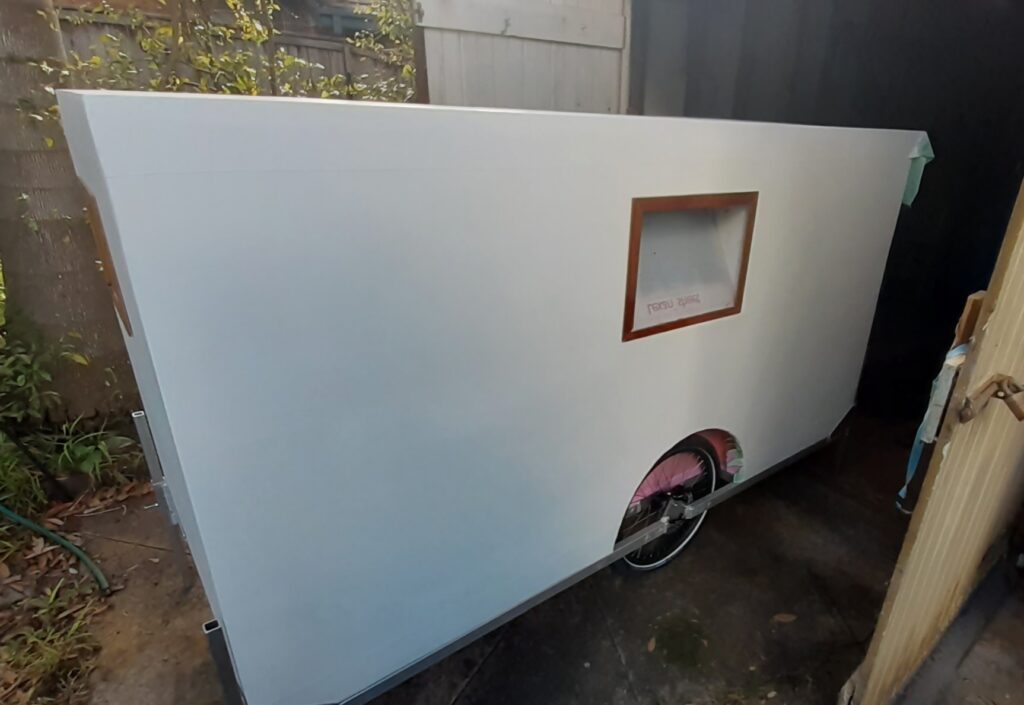
First time hitched the bike. A new hitch, and of course, you can't miss the cabin. Hadn't realised I didn't paint the wheel wells until now. Will paint them black. The mass of white will be broken up with pinstripes.
A short pedal about the street. Rolls easy on the flat. No motor needed for the short, small incline I tested it on.
The door took much more work than I had thought. A common occurrence during this build. Everything seems so simple and easy, until I start doing it. Then I find all the things I hadn't thought of. Learn that my plan isn't working out. And blow past my expected finish date.
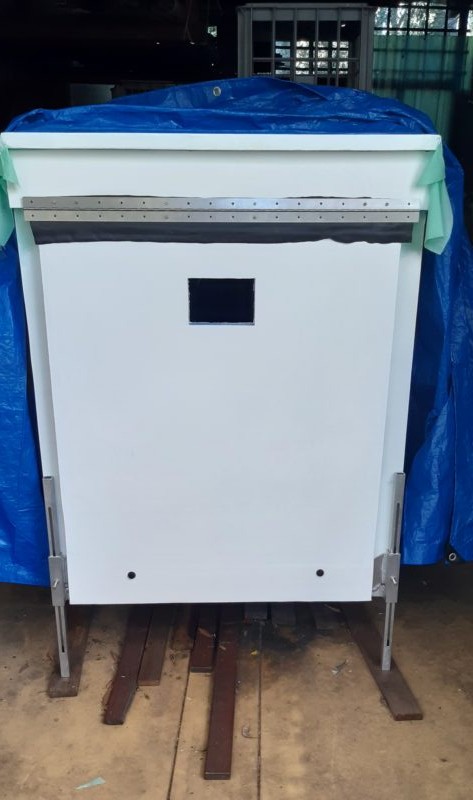
It seemed like a good idea to position the piano hinge on the door and lintel while they were both flat on the floor. Drill the holes in the holes in both. Then they would line up straight. Did that, then glued the lintel to the caravan body. And then I bolted the door on and groaned.
Look closely at the bottom of the door. The gap on the left compared to the right. Not even close.
I experimented with moving the holes on the lintel, but wasn't happy with how that was working out. Too many holes for the piano hinge would be too close to the edge. The basic problem was that the roof is not 100% level. There is a 5mm difference one side to the other. Unnoticeable looking at the roof, but hanging a metre long door off it and the slight slope is amplified. Gluing the lintel to the roof really wasn't a good idea. I did consider just ignoring it, but I would look at the gap every time I opened the door. And I'm sure I'd quickly grow tired of people telling me it was crooked.
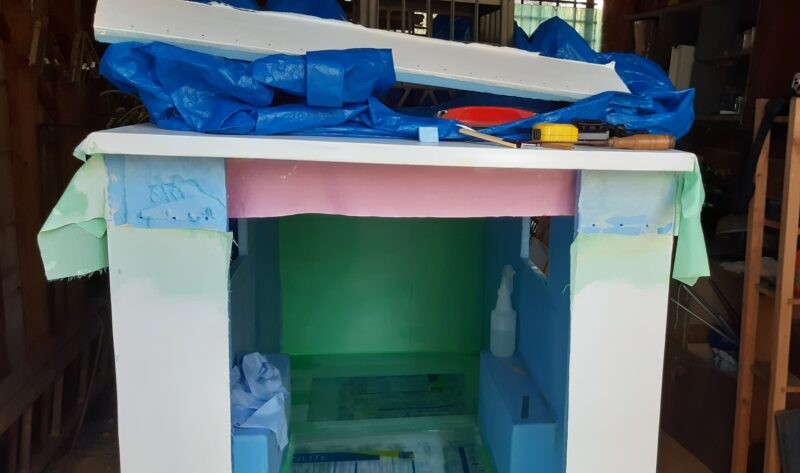
Decided to remove the lintel. Wasn't easy. A lot of cutting glue and foam with a knife.
I had thought to glue a thin triangle wedge on top of the lintel to space up one side down. But as I was setting up to cut the wedge, I realised that I could also cut off a wedge from the lintel.
A test with the door on and holding it all together with clamps to check the door would hang straight this time. Marked out where the lintel would have to go. Undid all the set up. Coated the lintel in glue and clamped it on.
Been a while since the last update. Work on the caravan has been happening though.
I thought making windows would simple. A couple of weeks. Easy. No surprise it didn't turn out that way.
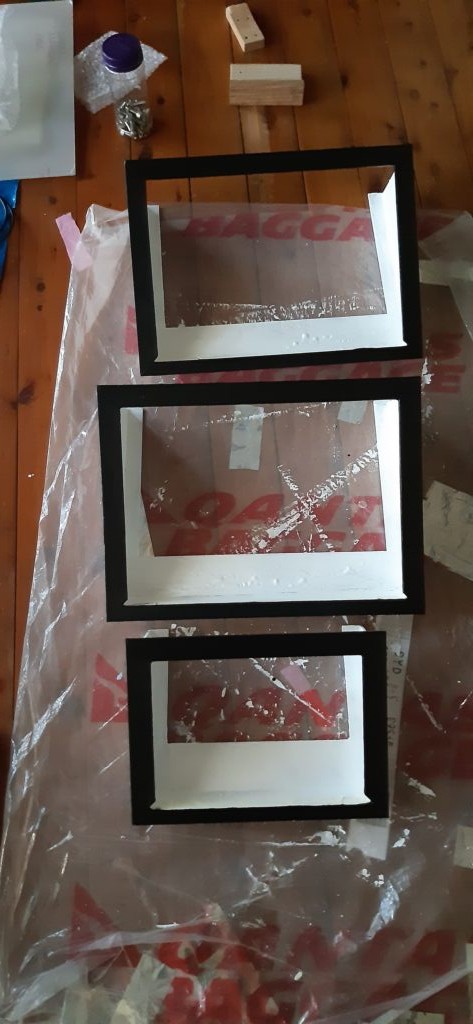
My first window didn't get finished. The timber I used was too heavy. After looking at using aluminium, I settled for three ply at a bad time. At the two nearest hardware stores three ply was out of stock and on back order. I waited for orders, but no three ply. Tired of waiting I recycled cupboards and boxes.
I settled on four windows all in landscape mode. The door has a A6 sized (105 x 149 mm) window, just to see out before I open the door. The front would have an A4 (210 x 297mm). And the sides would have an A3 (297 x 420 mm). I'm not certain on the A4 window. It may change to an A3 in the future. But at the time, I didn't have enough three ply to make it larger anyway. Also, I decided to just get it done. Improvements can happen in the future.
Wiley Windows are what I wanted. I liked all the options they provided. They can be full open, partially open, even when raining, fit block out screens and mossie screens.
The three ply was not marine grade, so I coated it with epoxy to waterproof it. At the time, the weather was cold. So cold that the epoxy was like peanut paste and wouldn't pour from the containers. When it warmed up a bit, it would flow, but found that the low temps, the set time was extended by a lot. Unless the surface was flat, it slumped off, or set on the way to slumping off. I was also surprised to find the wood soaked up the epoxy. It took multiple coats to get a layer of epoxy on.
The idea was that a piece of perspex A4 or A3 would fit in the window. A small error. I was 3mm off on one dimension for each window. I think it was the kerf on the saw on the wrong side of the marking line. Didn't pick it up until I went to fit the perspex. But okay in the end as can cut down the perspex to fit.
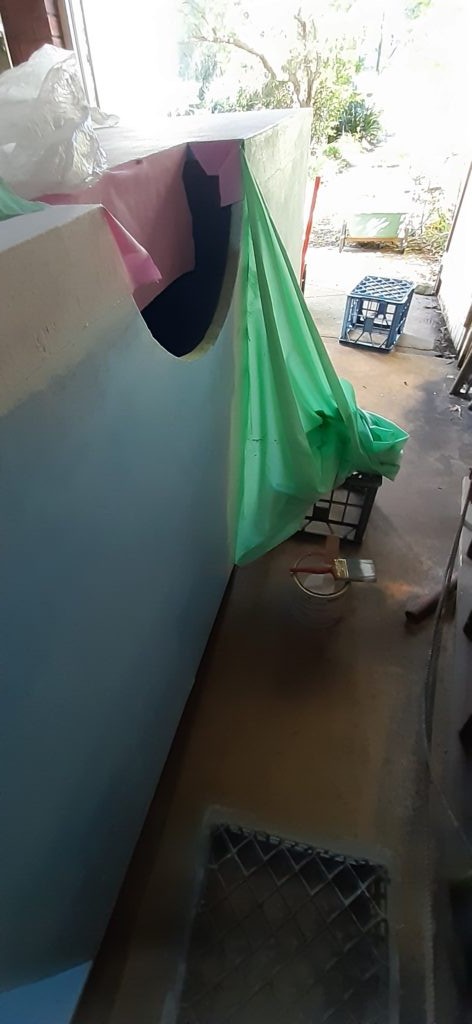
Cutting the holes in the cabin was a bit nerve wracking. I used the perspex sheets to mark with so that they would be level compared to the roof line. I marked out around the perspex and cut the laminate with a utility knife. I peeled it off, then drilled a large hole in the four corners. Used a hacksaw to cut roughly between the holes. Then I used the hot knife to smooth cut close to the marked edges.
Did you pick up my mistake in that list of steps? The windows are larger than the perspex. Back to marking out the difference onto the walls, cut the laminate off, cut the foam with the hot knife again. Now the windows fit.
It was time to attach the roof to the walls, and then start the laminating.
I removed the cabin from the chassis. Checked it all over and filled any gaps or holes. I used a foaming polyurethane glue. Using a plastic spatula to spread it into and over any holes, then tape over with masking tape. Without the tape, it was sometimes too bubbled to give a smooth look when sanded. As it was setting, pressed with the spatula to pop the bubbles and force into the gap/hole. After it set, removed the tape and sanded it smooth.
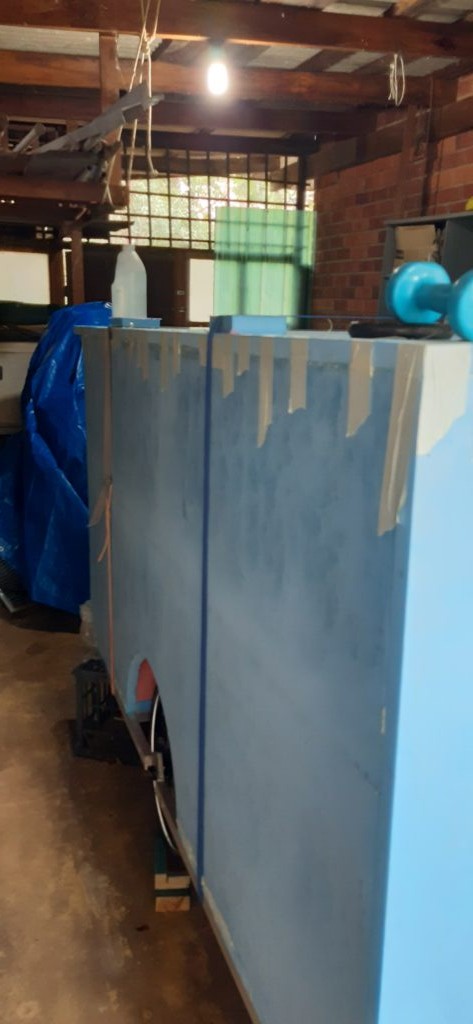
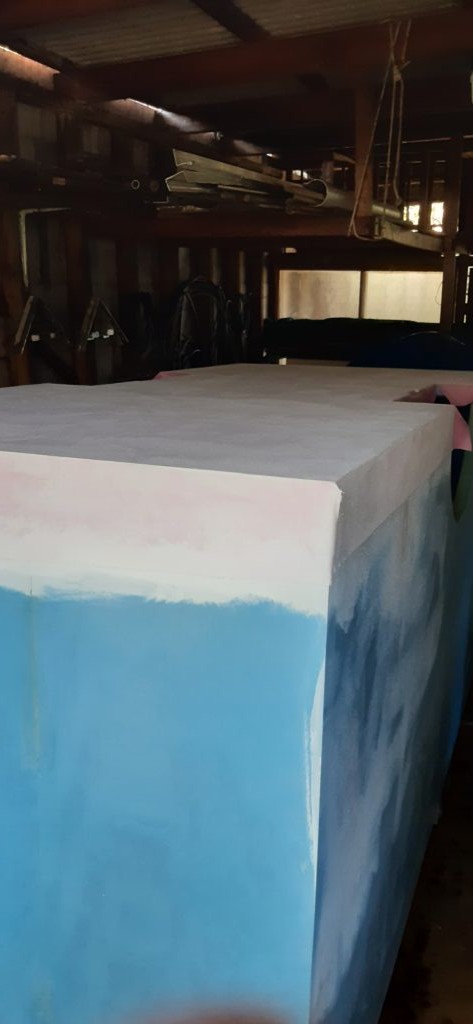
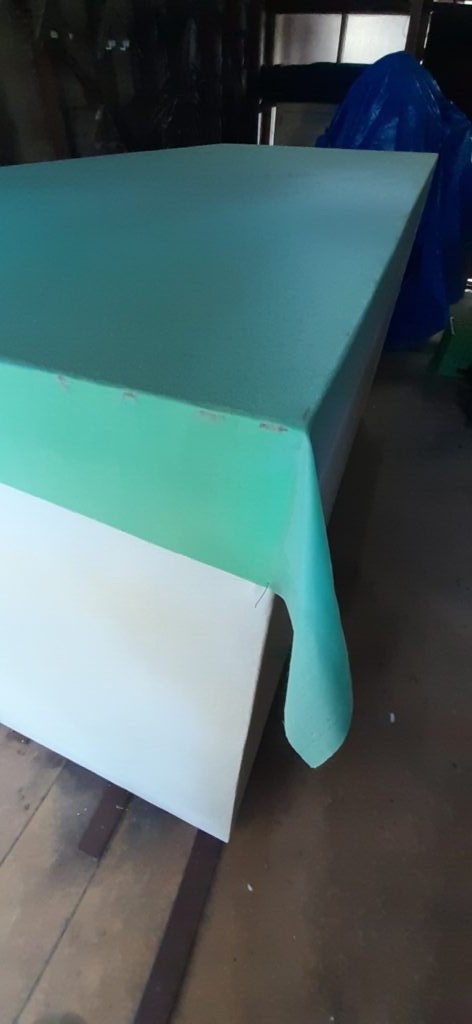
After all the gaps had been filled, it was flipped it on its roof. I wanted to start from the base and work towards the roof, so any seams would overlap downwards when it is upright. I cut the fabric to fit the base. It overlaps 90mm on all sides. I marked the edges to help line up the fabric when replacing it over the paint.
Was happy and a bit miffed to find the fabric is 1140mm wide. I had in my head that it was 1000mm wide. That's great as less seams needed. The side laminate is one piece of fabric wrapped from the back, down the side, across the front, down the second side to the back. Over five metres. I'll have to cut 10mm off all of it. Miffed, as when I lowered the roof, the height from the bottom of the floor to the top of roof is 1130mm. I'd have made the roof 10mm higher if I'd known.
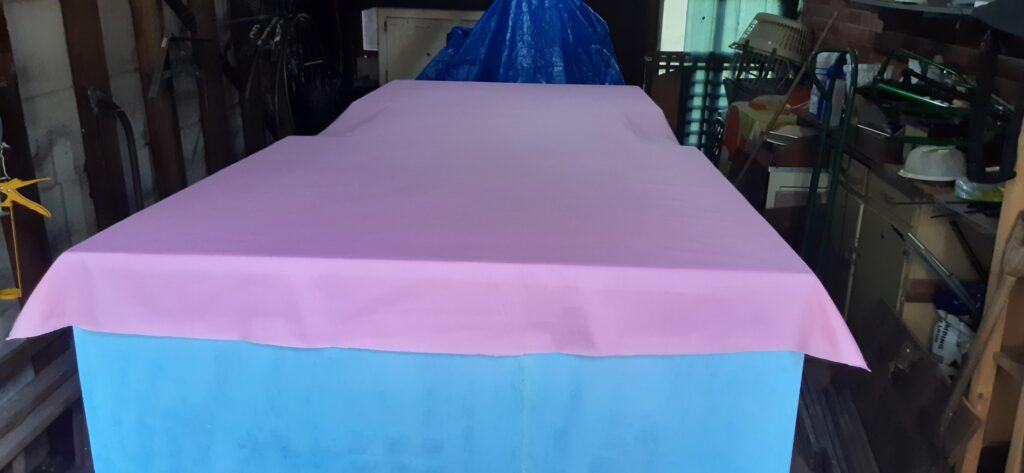
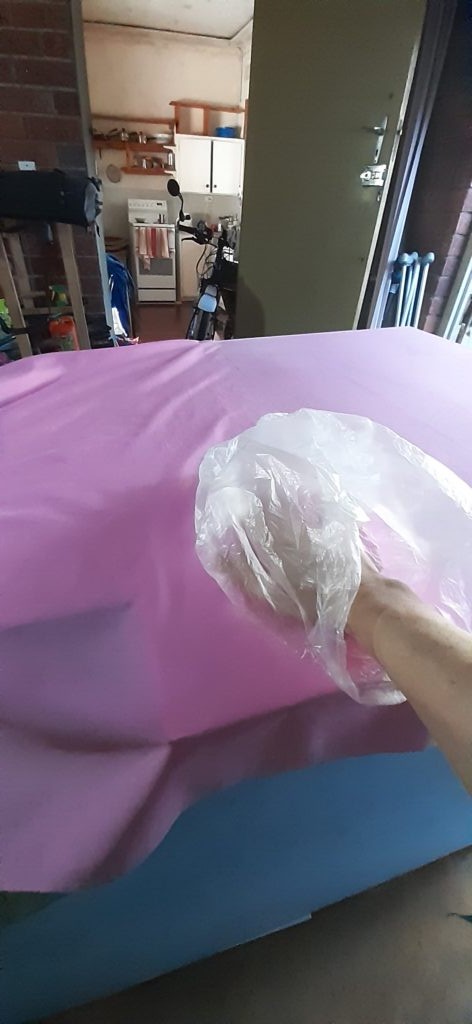
I had decided to just use paint to attach the fabric. Applied paint on the foam, press the fabric into the paint. I put a plastic bag over one hand to smooth the fabric. The plastic slides. The other hand, I could grab and stretch the fabric to help pull out any wrinkles. Another coat of paint was immediately applied over the top to wet the fabric fully. It was important to get the fabric saturated, else it didn't stick well to the foam.
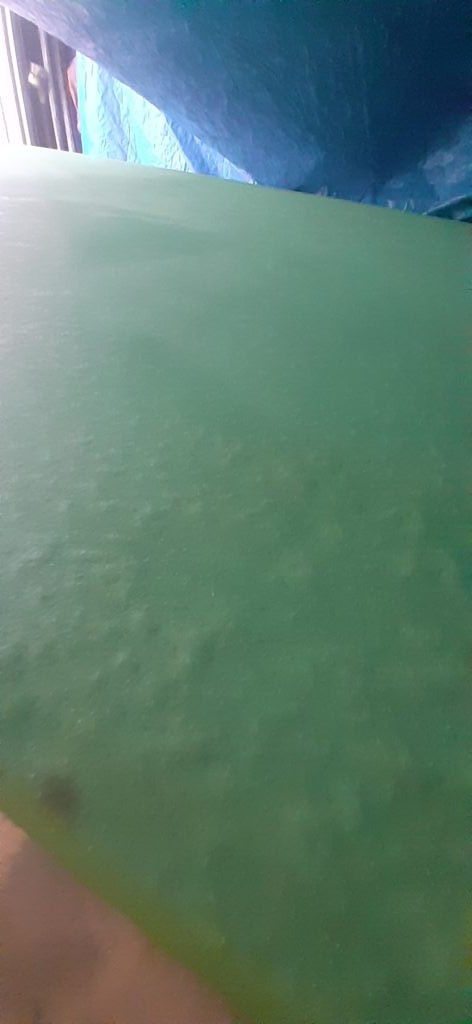
I had a few bubbles appear after it had dried. To fix them, I used a pin and punctured the bubbles. Keep pricking the bubbles to make a lot of holes. Can't have to many holes. Some of the bubbles deflated with this. But if they didn't, I smoothed them flat and apply more paint over the top. They stayed down after that.
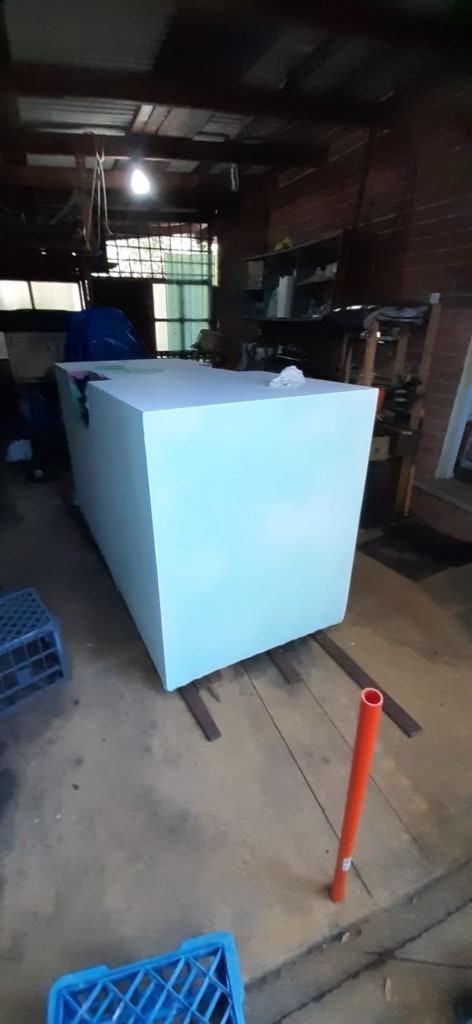
Everything went pretty good. Only worry for me was that the fabric was soaking up the paint.
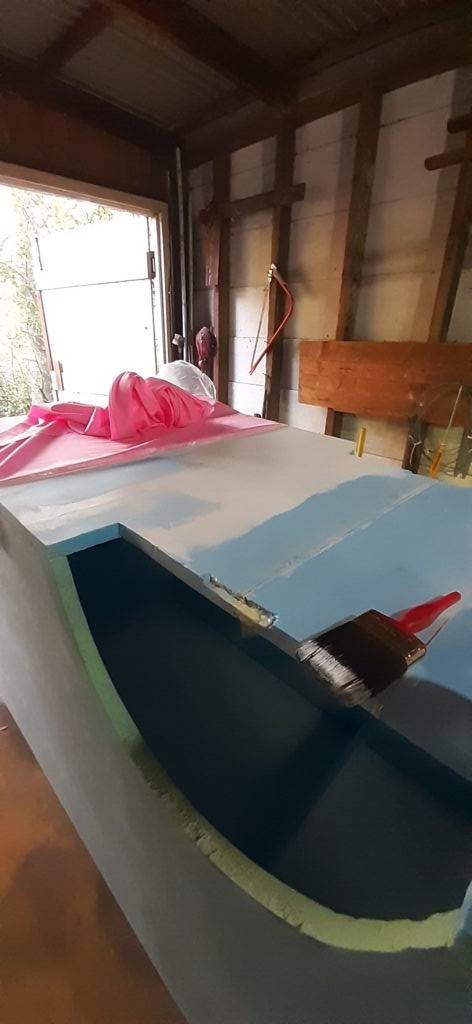
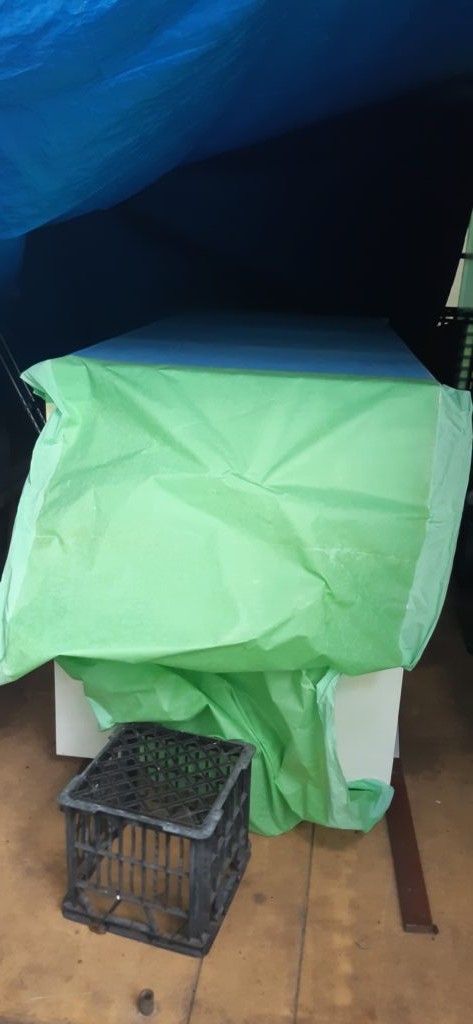
Finally I flipped the cabin on the base and to laminate the roof. And this is where I stuffed up. For reasons that escape me now, I decided to use Titebond 2 rather than paint. Big mistake. It was harder to apply. It was tacky and the plastic bag trick didn't work. I had to pull the fabric tight. At the end, it looked good wet, but as it started to dry a lot of bubbles started to show. Then the weather turned to rain, and humidity was high for two weeks. The glue didn't want to dry fully. It was staying tacky. I read about using an electric iron, but lacking this, I boiled a saucepan of water and used that. I put baking paper down first and sat the saucepan of boiling water on top. The good news was that the tacky glue hardened after it cooled. Bad news was the the flat looking bubbles actually bubbled upwards. So many bubbles. Some returned to flat when cool, some didn't. What would happen in the sun? I didn't want to find out. And it looked terrible.
I peeled the fabric and glue off. Need to pull it in a peeling motion. Filled in any patches that needed it and sanded the roof again. Now I'm waiting for more fine weather to redo the roof fabric layer with paint.